Manual Controls (PTZ Page)
A robotic axis is a path of motion or range of linear control. For Ross PT heads, axes include pan, tilt, zoom, focus, and iris.
The PTZ page contains controls and settings that enable you to operate axes manually, and to configure how axes behave when they are operated manually. This chapter contains the following sections:
Some features described in this section are not available on all robotic PT heads. The selection of features and the appearance of the interface may vary between PT head models. Not all axes may be controllable on all models of PT head.
To access the PTZ page and assume manual control:1. Tap theEnabled** button (see Figure ??).
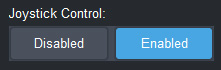
Figure 1 - Disabled and Enabled Buttons for manual and joystick control
A PT head can be manually controlled by only one workstation at a time. When you (or another) operator enables Joystick Control , they take control and the previous controller loses it. If the other operator is using the DashBoard PT Head Control Plugin , their Joystick Control status changes to Disabled , and their PTZ Page closes.
-
Tap the PTZ button.

The PTZ page appears (Figure ??).
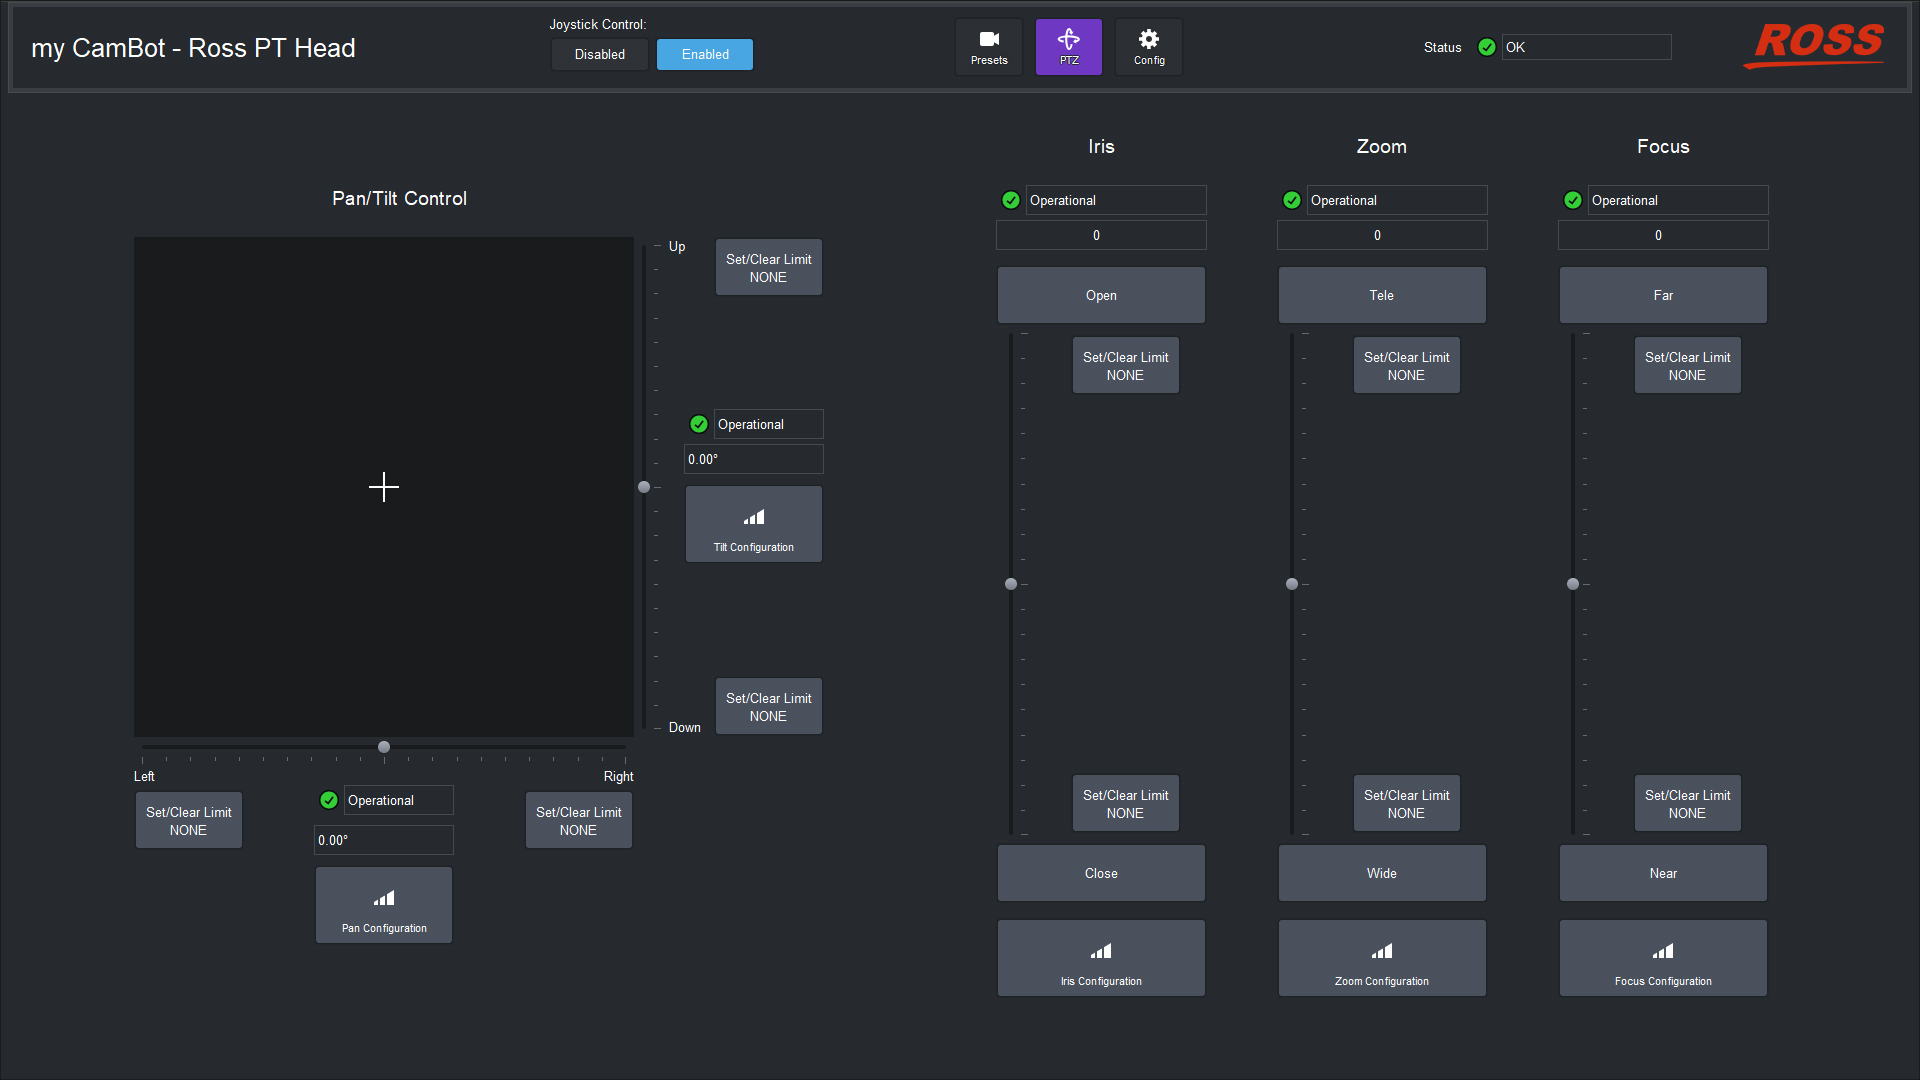
Figure 2 - Controls for Pan/Tilt, Iris, Zoom, and Focus
Operating Axes Manually
You can control the pan and tilt axes manually. You can also configure how these axes respond when controlled manually.
This section includes the following topics:
As an alternative to manual control from the PTZ page, you can use controls on the right side of the Presets page, or use a USB game controller such as a joystick. For information about adding such a control device, see “Adding USB Controllers”.
Manually Control Pan and Tilt Axes
You can use controls on the PTZ page to manually control the pan and tilt axes.
Figure ?? shows the Pan/Tilt controls.
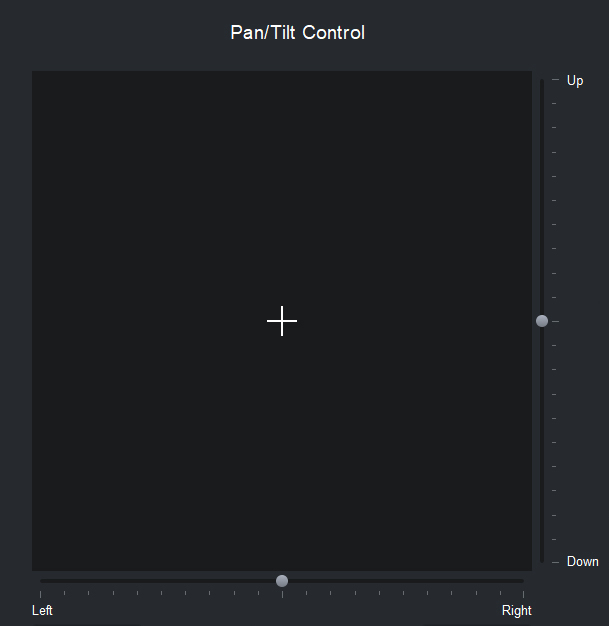
Figure 3 - Pan/Tilt Control area of the PTZ page
To pan and/or tilt the camera, do one of the following:
- Tap and drag the cross-hairs away from center. The farther the cross-hairs are from center, the faster the head moves. Dragging right and left pans the camera. Dragging up and down tilts the camera.
- Tap and drag either the pan slider (Left / Right ) or the tilt slider (Up / Down ) away from center. The farther a slider handle is from center, the faster the head moves.
Manually Control Lens Axes (Iris, Zoom, and Focus)
You can use controls on the PTZ page to manually control the iris, zoom, and focus axes.
Iris control is not available on some models of PT head.
Figure ?? shows the Iris , Zoom , and Focus controls.
Figure 4 - Iris, Zoom, and Focus controls
For each axis, controls include a vertical slider, and buttons with labels that indicate the direction of axis movement:
-
Iris — Open or Close
Iris controls are shown on the PTZ page only if the PT head is configured to control iris. Otherwise, for cameras that can be controlled by DashBoard, iris controls are available on the Paint page of the PT Head Control interface, or in the camera’s default DashBoard interface.
-
Zoom — Tele or Wide
-
Focus — Far or Near
A value box close to each axis control displays the current numeric position of the lens axis (raw lens data values). For example, in Figure 4 the value box for the Zoom axis displays a value of 27465 .
To manually control a lens axis, do one of the following:
-
Tap and drag the vertical slider away from center. The farther the slider handle is from center, the faster the lens axis moves.
-
Tap one of the buttons above or below the vertical slider to move the lens axis one step.
tipThe degree to which the axis moves each time you tap a button depends on the button sensitivity setting for that axis. For more information, see “Joystick Area”.
Configuring Axis Behavior
You can set axis limits, and configure how axes behave when controlled manually.
This section includes the following topics:
Set Axis Limits
There are two types of axis limits:
-
persistent limits — These cannot be configured within the PT Head Control interface.
-
temporary limits — These can be configured. The temporary limits for a given axis define a range of motion that falls within the bounds of the persistent limits for that axis.
When you configure temporary limits, those limits are applied to the head. They limit the range of motion for all entities that control the head, including hardware controllers such as USB joysticks, and software interfaces such as SmartShell and the DashBoard PT Head Control interface.
Temporary limits remain in force until they are changed, or until the robotic head is restarted.
For each axis, there are two Set/Clear Limit buttons, one at each end of the axis range (see Figure ??. A box near the axis displays the current position value. If you repeatedly tap a Set/Clear Limit button, the value displayed on the button toggles between the current position value and the persistent limit value. If the value on the Set/Clear Limit button matches the current position value, the temporary limit is set to the current position. If the values do not match, the temporary limit is cleared and the persistent limit applies.

Figure 5 - Set/Clear Limit buttons for the Pan axis (box at center displays current position value)
To set a temporary axis limit:
-
Move the axis to the position you want to set as the temporary limit.
tipIf the axis stops before it gets to the position you want, it may have reached the current temporary limit. Tap the Set/Clear Limit button once and then try moving the axis to the desired position. If it can not move in that direction, the axis has reached the persistent limit and can go no farther.
-
Tap the Set/Clear Limit button once.
-
Compare the current position value to the value displayed on the Set/Clear Limit button:
- If the values are the same, the limit has been set.
- If the values are different, tap the Set/Clear Limit button once to set the temporary limit.
Configure Axis Behavior
You can configure how each axis behaves when it is controlled manually. Axes can be manually controlled through the PT Head Control interface or a USB joystick.
When you configure axis behavior, the settings are immediately applied to the head. Whenever an operator enables manual control (via the Joystick Control > Enabled button), the axis behavior settings are applied to the head. This allows you to configure different settings for each DashBoard control station. If you want all DashBoard controllers to use the same settings, you must configure them individually from each control station.
Each set of axis controls includes a Configuration button, as shown in Figure ??.
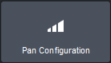
Figure 6 - Example of an Axis Configuration button (Pan Configuration button shown)
To configure axis behavior:
-
Tap the Configuration button for the axis you want to configure.
-
The Configuration dialog box for the axis appears (see Figure ??).
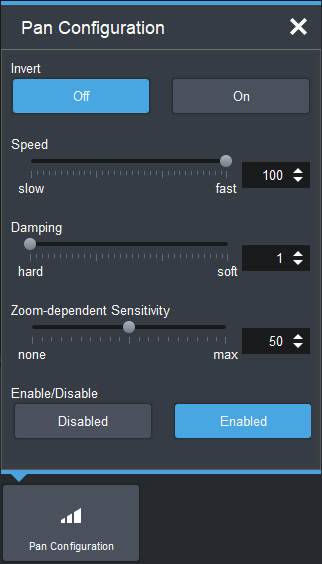
Figure 7 - Axis Configuration dialog box (pan configuration shown)
-
Configure axis behavior as required:
-
To invert the axis, tap whichever Invert button (Off or On ) is black, to turn it blue.
-
To set the maximum speed, either move the Speed slider (slow / fast ), or specify the maximum speed as a percentage in the Speed box.
-
Pan and tilt axes only: To set the degree of acceleration/deceleration damping, either move the Speed slider (hard / soft ), or specify the damping level as a percentage of the maximum acceleration/deceleration rate, in the Damping box.
Damping determines the responsiveness of the axis to sudden manual and joystick requests. It alters the rate of acceleration/deceleration.
-
Pan and tilt axes only: To set the sensitivity of zoom-dependent axis speed, either move the Zoom-dependent Sensitivity slider (none / max ), or specify the sensitivity as a percentage in the Speed box.
About zoom-dependent axis speed : A camera moving at a given rate creates a more drastic visual effect when the lens is zoomed in. The zoom-dependent speed feature, which applies to manual control only, varies the speed of the affected axis (pan or tilt) with the value of the zoom axis, so the motion appears less drastic. When the lens is zoomed in, the affected axis moves more slowly. When the lens is zoomed out, the affected axis moves more quickly.
-
To disable or enable control of the axis, tap either the Disabled button or the Enabled button. The axis is disabled for manual control through the PT Head Control interface or joystick, and also for presets. If an operator runs a preset that requires movement of one or more axes that are disabled, the preset is not recalled and a WARNING message appears stating the Reason as NOTENABLED .
noteDepending on how your system is configured, the Disabled and Enabled buttons may not be visible. For more information about configuring manual control, see “Joystick Area”.
-