Paint Page
The Paint page provides access to camera paint and shading settings, as exposed by the camera.
The types of settings presented vary by camera model. For information about specific settings, consult the user manual for the camera.
Figure ?? shows an example of the Paint page, as it appears for an ACIDCam AC-H200-UCHR camera.
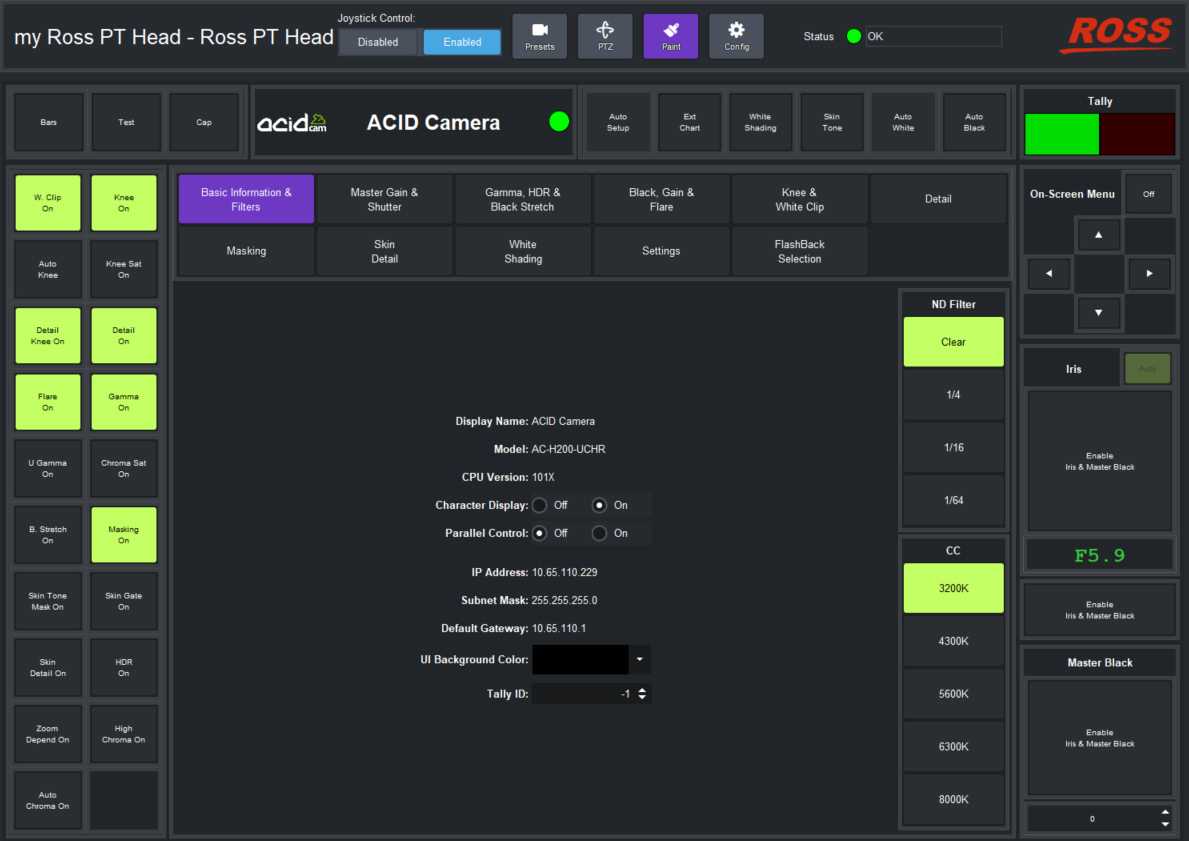
Figure 1 - Paint page, as it appears for an ACIDCam AC-H200-UCHR camera
To access the Paint page:
-
If the Paint icon
 is visible, tap it and then:
- If shading and paint controls appear, the Paint page is ready to use. Skip the rest of this procedure.
- If the Unable to locate selected camera dialog box appears, use the Camera Selector list to select the camera that is mounted to the PT head. If the required camera is not on the list, ensure that it is represented by a node in the DashBoard tree, and that it is operational.
-
If the Paint icon is not visible, enable the Paint page and then access it:
-
Tap the Config button.

The Configuration page appears.
-
Tap the Device tab.
Device configuration controls appear.
-
In the Camera Paint Page area, in the Camera Selector list, select the camera that is mounted to the PT head you are controlling.
noteIf the list does not include the required camera, ensure that the camera is represented by a node in the DashBoard tree, and that it is operational.
-
Tap the Enable button.
The interface switches to the Presets page. The Paint icon appears.
-
To access the Paint page, tap the Paint icon.
Shading and paint controls appear.
-