
To Assign a Panel Row to a Different Layer on TouchDrive

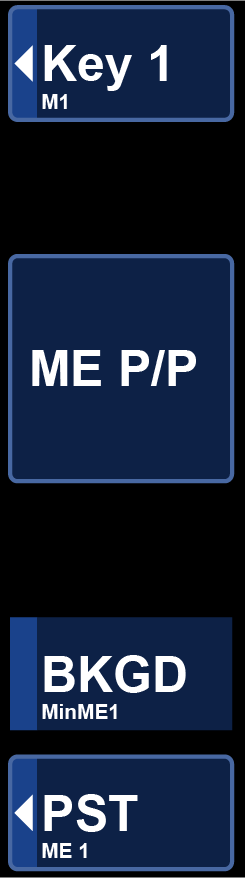
A panel row is assigned can be assigned to any layer (ME, MiniME™, etc.) on the selected switcher.

  1. The row control menu shows what that row is currently assigned to, as well as each bus.
    Tip:
    The color of the source buttons and displays on the row also indicate where the row is assigned. The colors are set by the color scheme that is applied to the panel. The keyers can have different colors than their ME.

    Note:
    The TDx Series panels have the Dual Delegation keyer rows with an extra row control menu item for the second keyer row.
    Note:
    If you are using the Configurable Program Outputs feature to create a Split-ME, the A-Side and/or B-Side of the ME is indicated with the ME, BKGD, and PST.
    Note:
    If you have multiple switcher frames connected to the panel, the frame that the row is assigned to is shown below the ME assignment.
  2. Tap the ME button on the row control menu.
    Tip:
    The user select buttons can also be used to assign the row to a resource either by pressing the button assigned to that resource directly, or by pressing and holding one of the assignment buttons and press the button on the key bus for the resource. The user select buttons can be assigned to select any bus on the switcher. If you change what the button is assigned to you should make sure to change the text on the button cap.

    The ME button turns white and the mnemonics on the row list all the resources the row can be assigned to. For Carbonite, a row can only be assigned to an ME, MiniME™, MultiScreen, or chroma key, depending on your switcher. For a Split-ME configuration there will be an A-Side and B-Side as well.

  3. Tap the mnemonic for the layer you want to assign the panel row to.