Maintenance and Troubleshooting
This section describes regular maintenance tasks and provides troubleshooting information. It includes the following topics:
-
For information about obtaining product assistance, see “Contacting Technical Support”.
Regular Maintenance
Perform the following maintenance tasks periodically:
- Check that the camera is properly secured.
- Check that all cables that run to the camera are properly connected, are undamaged, and are properly dressed to prevent possible snags.
- Check that the cooling fan on the bottom of the camera is unobstructed. Use a vacuum cleaner to remove dust from the fan area. Do NOT use any liquids to clean the camera!
Firmware Update
Perform the following firmware update steps when new upgrades are available from: https://www.rossvideo.com/support/product-documentation/ptz-documentation/.
To access the web interface:
-
Enter the IP address of the camera into the address bar of your web browser.
-
Enter a valid User Name and Password .
For more information, refer to “To Access the Web Interface:”.
To check current firmware version:
-
Select About the menu options in the Web Interface.
-
Locate the Firmware Version field on the About page.
After you check the firmware version number on the camera, compare it to the firmware version numbers listed in the Release Notes, which are available as a PDF file in the firmware update package. The Release Notes are also available for download at https://www.rossvideo.com/support/product-documentation/ptz-documentation/.
noteIf the camera already has the latest firmware version, no update is required.
To upgrade the firmware version:
-
Select Maintenance from menu options in the Web Interface.
-
Select the Choose File button in the FW Upgrade tab.
-
Upload the .bin file for your PTZ-12G or PTZ-NDI camera, respectively.
The .bin file is available in the firmware upgrade package at https://www.rossvideo.com/support/product-documentation/ptz-documentation/.
noteFor PTZ-12G, upload the PTZ-12G_Version_XXX_VCBDxxx.bin file. For PTZ-NDI, upload the PTZ-NDI_Version_XXX_VCBExxx.bin file.
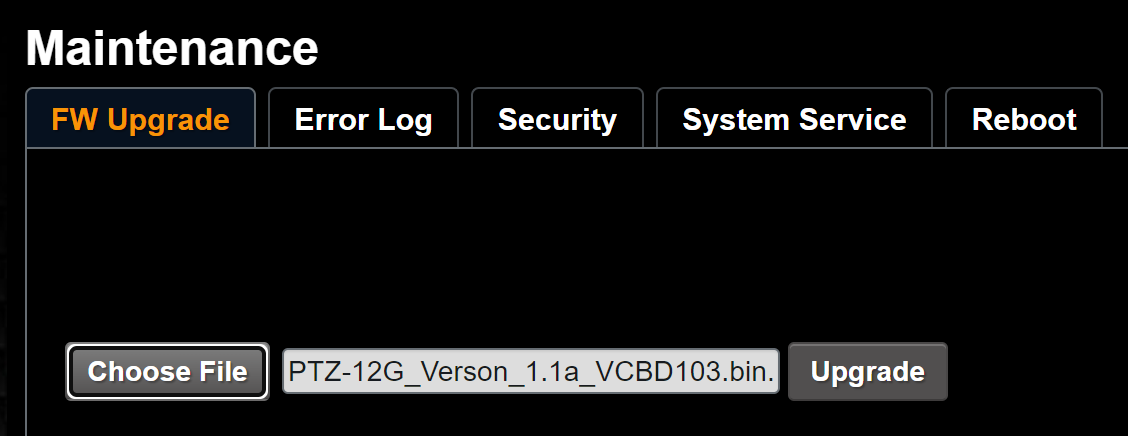
Figure 1
-
Select the Upgrade button.
noteThe firmware upgrade takes approximately 2 minutes to complete. Do not remove power during this time.
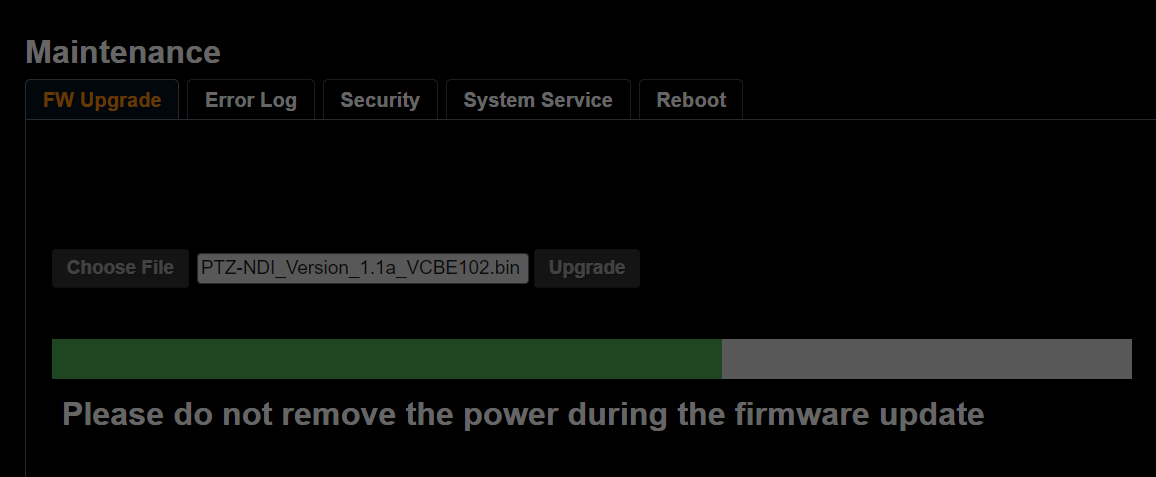
Figure 2
-
IMPORTANT : If your update is blocked, the firmware update has failed. This can happen if you upload the wrong firmware update file (i.e. using the PTZ-12G file for a PTZ-NDI camera, or vice versa).

Figure 3
-
If this error occurs, refresh the page and upload the correct file.
To perform a power cycle:
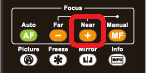
Do not power cycle your camera until the upgrade finishes. Refer to the following image for confirmation of a successful firmware upgrade:
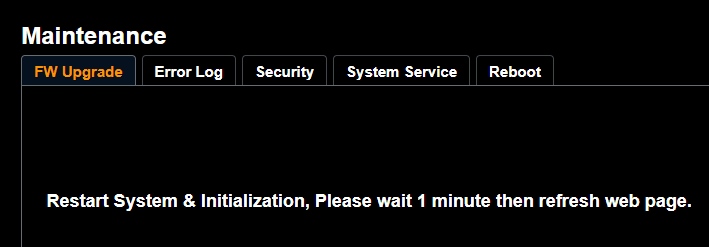
Figure 4
-
Disconnect the power cable from the camera.
-
Wait 60 seconds, then reconnect the camera’s power.
-
Log in to the Web Interface with your account credentials.
noteNetwork settings and user credentials are unaffected by the firmware upgrade process.
tipRefer to the About page to confirm your firmware version has upgraded.
Troubleshooting
This section describes problems you may encounter, and provides possible solutions.
Table 1
| Problem | Possible Solution |
|---|---|
| Boot without power signal |
|
| There is no video image output. |
|
| RS-232 cannot be controlled |
|
| Unable to connect to camera after changing network settings (IP address, gateway, netmask) | Power cycle the camera: Disconnect camera power, wait 20 seconds, and then reconnect power. Wait until camera initializes, and then try connecting to it again. |
| Whether the Internet can be used for operation | Please refer to “Web Interface Features” for the Internet usage |
| ONVIF software cannot locate the machine | In the web interface, use only English letters and numbers for Settings > Video > Camera_ID and Settings > Video > Location. Using special characters and/or pressing the space bar will cause the ONVIF software to be unable to locate the machine. This applies only to PTZ-12G and PTZ-NDI with NDI disabled. |
| Tally lamp is not working when applying VISCA setting | Ensure that the Tally Lamp function is enabled. Do one of the following to access the Tally Lamp on/off setting:
|
| The camera does not save the relevant parameters (PTZ, AWB, etc) after reboot | Check that Initial Position setting is set to Last MEM. Do one of the following to access the Initial Position setting:
|
| Forgot password for web interface and cannot log in | Hard Reset A Hard Reset enables password resetting. WARNING: This process resets all camera, network, and login credential settings, restoring defaults. To perform a Hard Reset, complete a power cycle by disconnecting and reconnecting the camera’s power, then complete the following:
 Note: Use the On Screen Display to turn Prompt On when selecting between numbers. When entering the numerical sequence, wait until the screen prompts OK before entering the next number. Settings are applied as follows: Ethernet:
|
| Unable to add camera in DashBoard | Ensure that the control protocol on the camera is set to VISCA. There are two ways to access the Protocol setting:
|