Auxiliary Control Panel Mounting
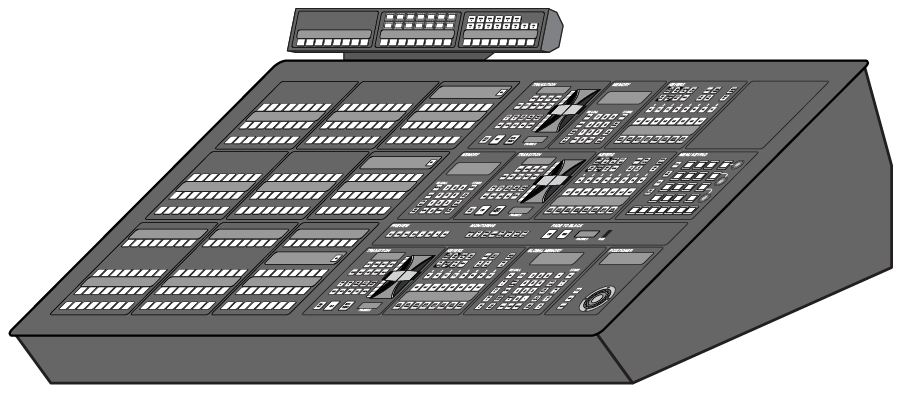
The auxiliary control panel can be mounted either on the back of the Acuity® control panel, or onto/in a desk.
To Mount the Aux Panel onto a Control Panel
The auxiliary control panel is designed to mount onto the back of the Acuity® control panels that have the same number of source buttons.
Each auxiliary control panel is designed to match a control panel of a specific size. You can only mount an aux panel of the correct size onto the back of a control panel.
- AP-AUX2RU24AP-AUX2RU24 — A1S, A2M, A3M
- AP-AUX2RU32AP-AUX2RU32 — A2X, A3
- AP-AUX2RU40AP-AUX2RU40 — A4
-
The auxiliary control panel comes pre-installed with the mounting bracket for the control panel it is intended to be installed on.

-
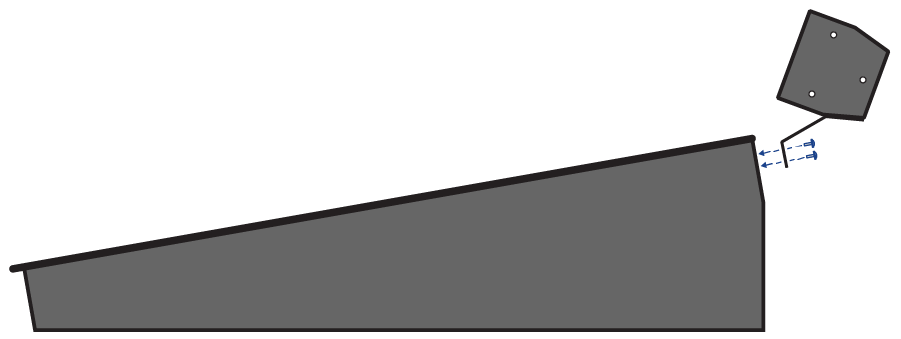
Align the auxiliary control panel to the back of the control panel and install the three (3) screws at either end of the mounting
bracket.

- Cable the auxiliary control panel as outlined on the QuickStart poster that came with your switcher.
To Mount the Aux Panel onto a Desk
The auxiliary control panel can be mounted into a desk or onto a desk using the provided side mounting brackets.
Both brackets mount onto the panel in the same manner.

-
The auxiliary control panel comes pre-installed with the mounting bracket for mounting on a control panel. Remove this bracket by removing the
three (3) screws at either end of the mounting bracket.

-
Install the side mounting brackets onto both sides of the auxiliary control panel using the six (6) screws provided.

-
Use the two (2) mounting holes on both mounting brackets to secure the auxiliary control panel to the desk.

- Cable the auxiliary control panel as outlined on the QuickStart poster that came with your switcher.
