
To Set Up the AVP Virtual Environment
Setup the virtual environment on a server for the Acuity Virtual Panel.
- Ensure that your server has been properly configured with the Proxmox® virtual environment 7.0.2 (or higher). Refer to the information provided with your server and virtual environment for initial setup information.
Note:
This configuration has only been tested on a Dell™ PowerEdge® R450 server.
Installation on a different platform may require additional or different steps.
-
In the Server View list, expand Datacenter and select the local node.
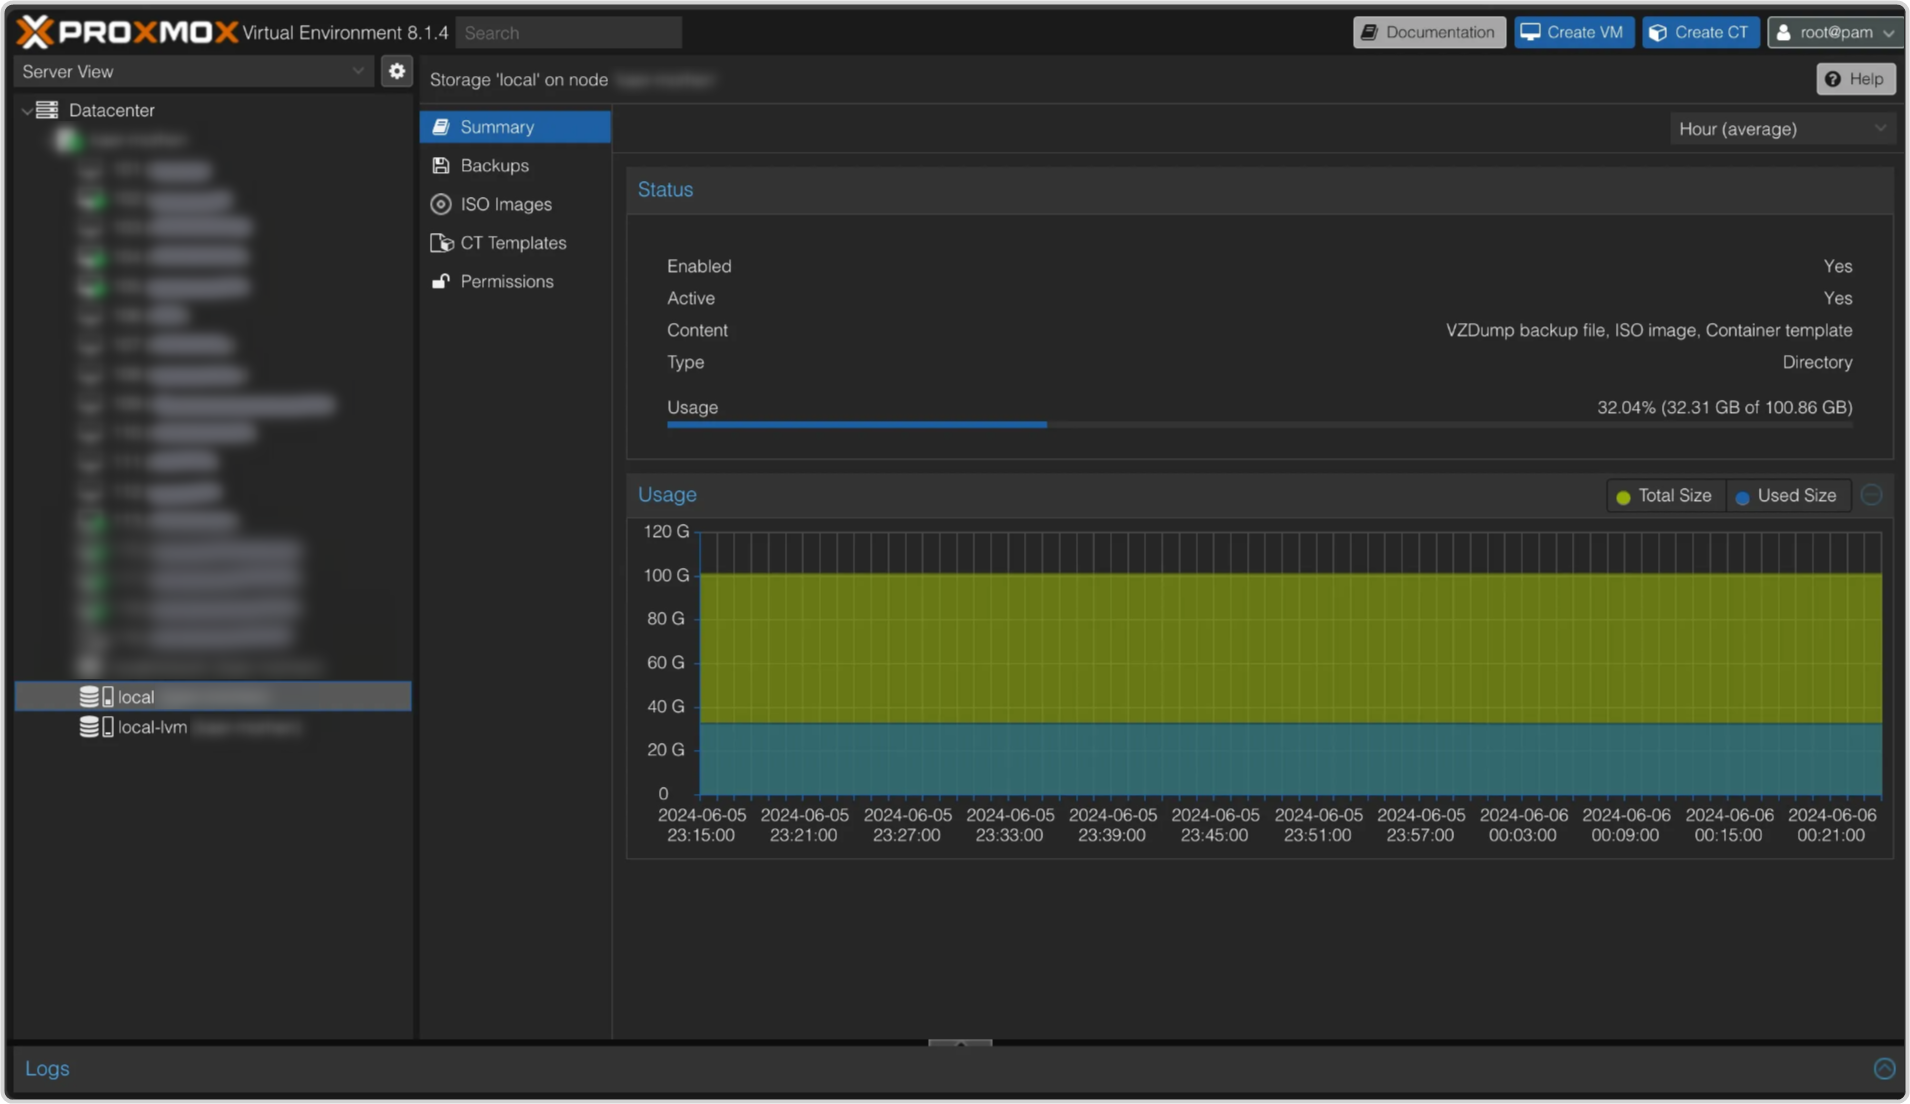
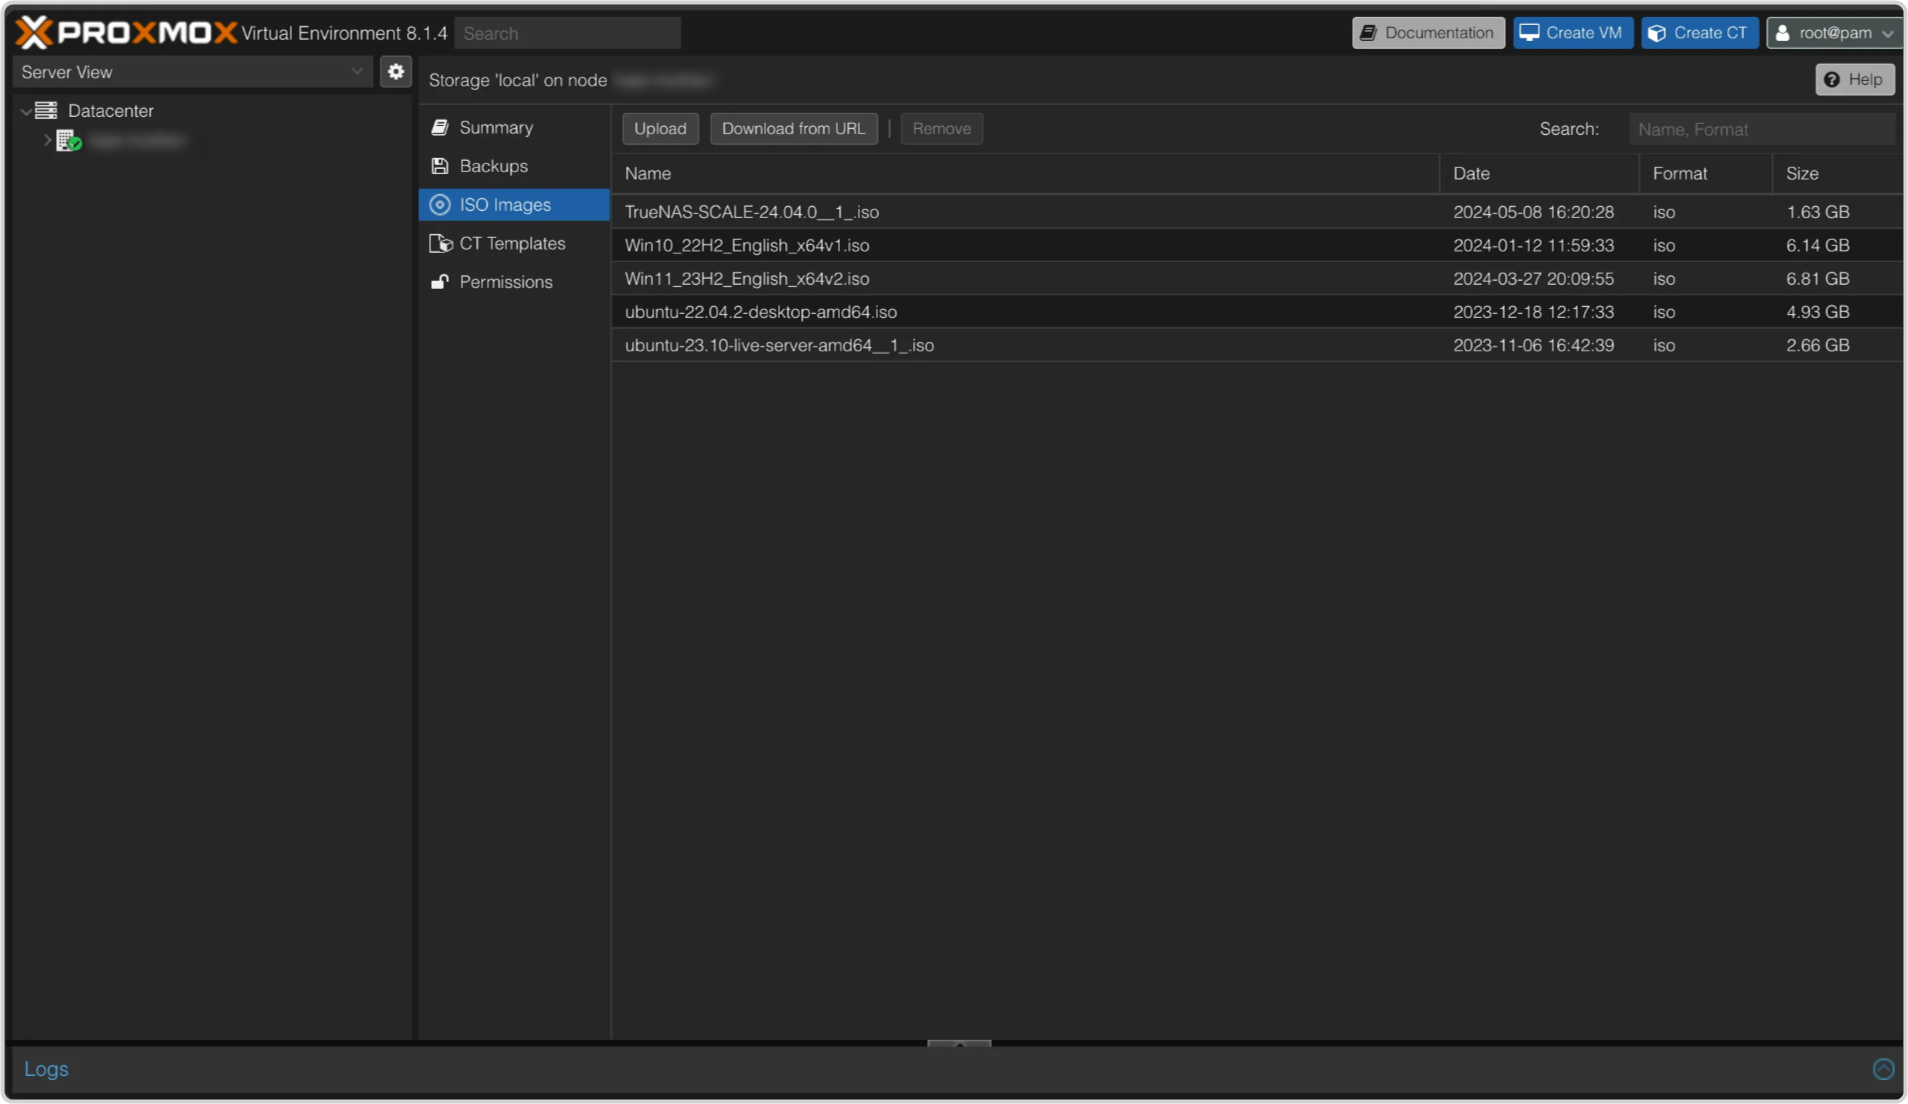
-
In the Storage 'local' view, click ISO images.
-
Click Create VM and select the following on the General tab. Leave other selections as the default.
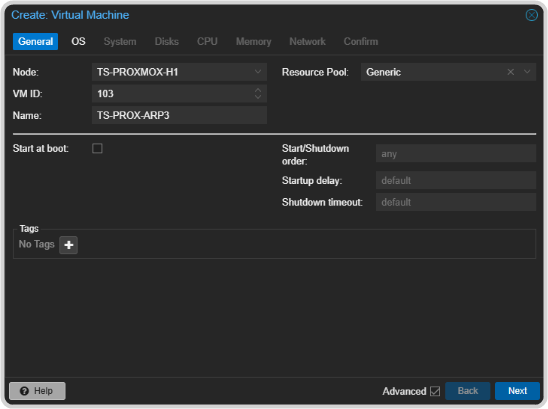
- VM ID: — enter a unique id number if the system has not automatically entered one for you.
- Name: — enter a name for the VM you want to create.
- Resource Pool — select Generic.
-
Click Next and select the following on the OS tab. Leave other selections as the default.
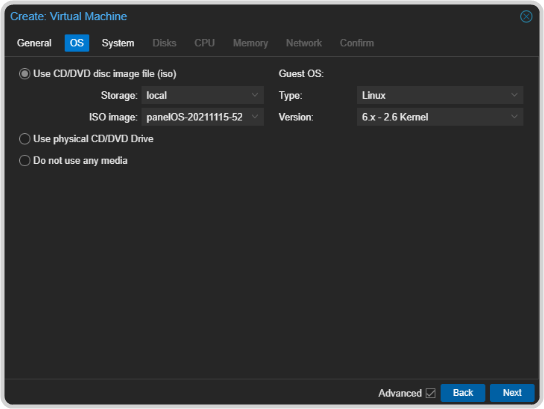
- Select Use CD/DVD disc image file (iso).
- Storage: — select local.
- ISO image: — select the Acuity® panelOS that you uploaded.
- Type: — select Linux.
- Version: — select 6.x-2.6 Kernel.
-
Click Next and select the following on the System tab. Leave other selections as the default.
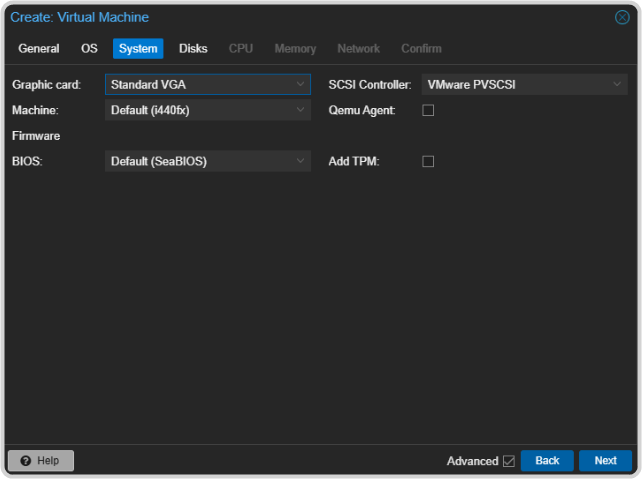
- Graphic card: — select Standard VGA.
- SCSI Controller: — select VMware PVSCSI.
-
Click Next and select the following on the Disk tab. Leave other selections as the default.
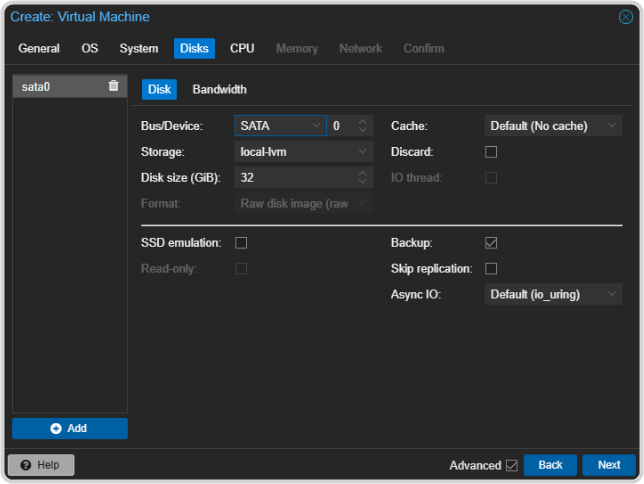
- Bus/Device: — select SATA and 0.
- Storage: — select local-lvm.
- Disk size (GB): — select the size you want to use for the local drive of the VM.
-
Click Next and select the following on the CPU tab. Leave other selections as the default.
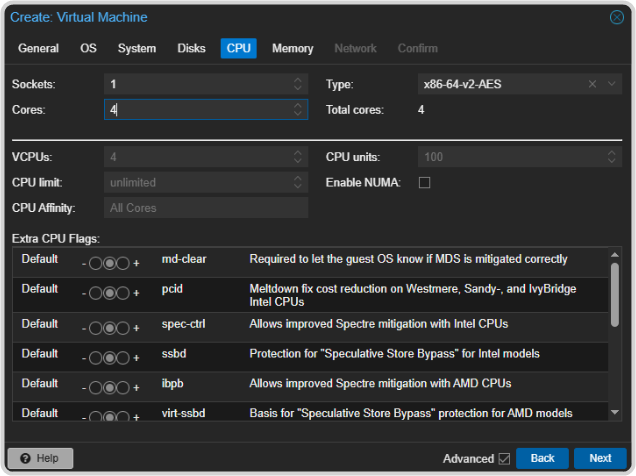
- Sockets: — select 1.
- Cores: — select 4.
- Type: — select x86-64-v2-AES.
- Total cores: — select 4.
-
Click Next and select the following on the Memory tab. Leave other selections as the default.
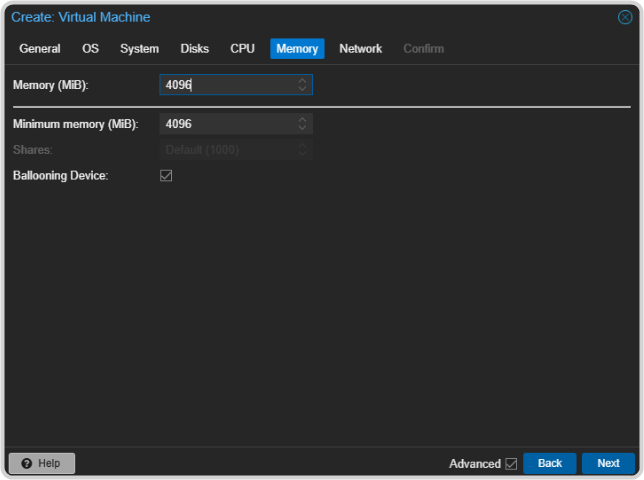
- Memory (MiB): — select 4096.
- Minimum memory (MiB): — select 4096.
-
Click Next and select the following on the Network tab. Leave other selections as the default.
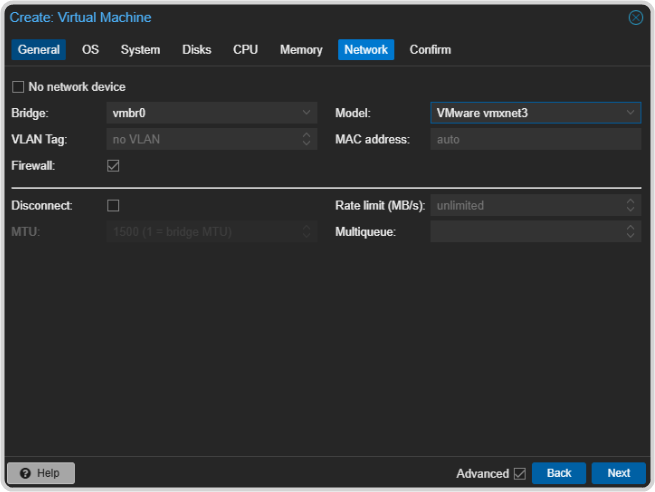
- Model: — select VMware vmxnet3.