To Replace/Install an IO Board
Replace or add a new Ultra 60 I/O board to your frame.
Warning Hazardous Voltages: Hazardous voltages are present in this device as long as any of the power
supplies are connected to the AC power.
ESD Susceptibility: Static discharge can cause serious damage to sensitive semiconductor devices. Avoid handling
the circuit boards in high static environments such as carpeted areas and when synthetic fiber clothing is worn. Touch the metal frame to dissipate static charge before removing boards
and exercise proper grounding precautions when working on circuit boards.
- Safely power off the frame and disconnect all the power supplies from the back of the frame.
- If you are replacing an existing Ultra 60 I/O board, disconnect any cables from the board.
-
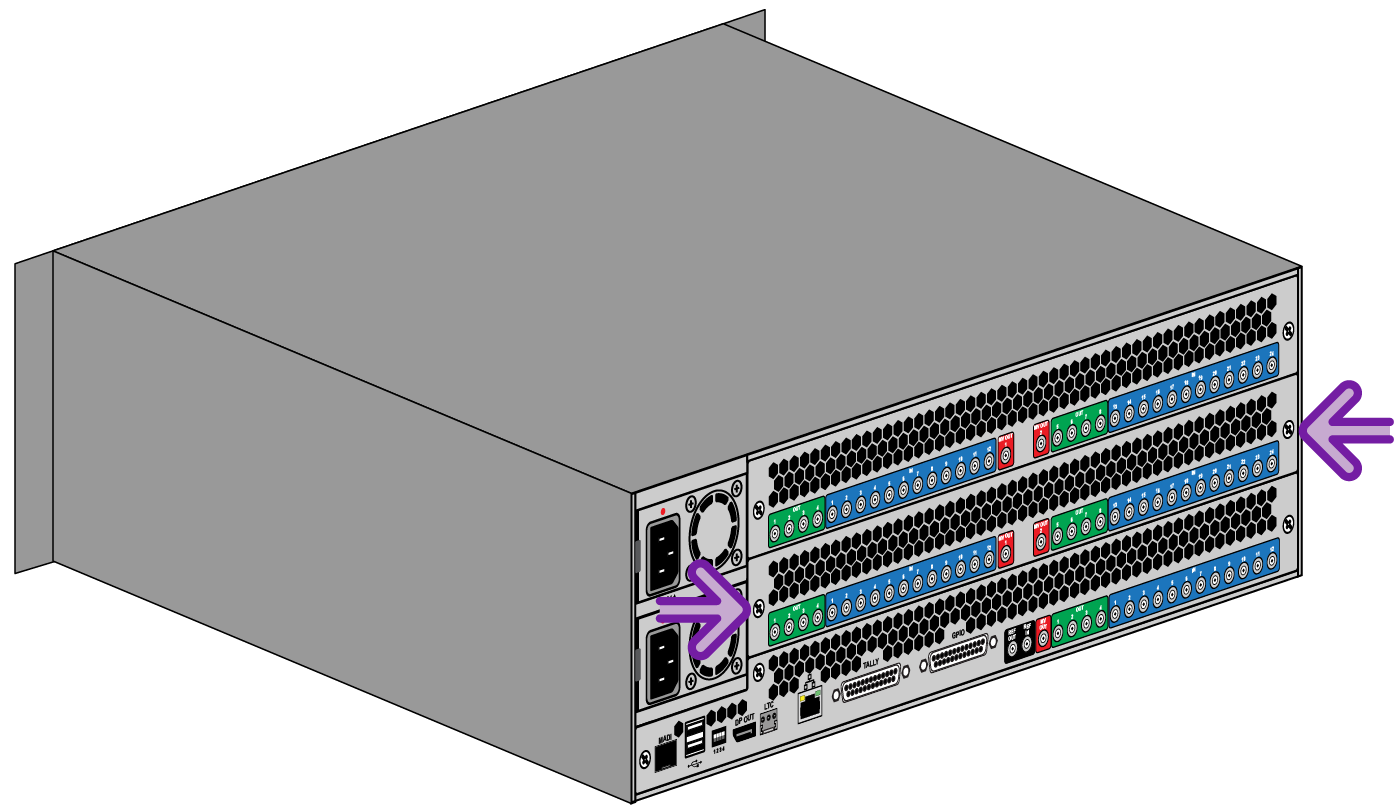
Loosen the bolts on either side of the Ultra 60 I/O board you are removing. If you are upgrading your system with a new Ultra 60 I/O then loose the bolts on the blank plate in the slot you are installing the new Ultra 60 I/O board.
Note: The bolts are spring loaded and will pop-out when they are fully loosened.

-
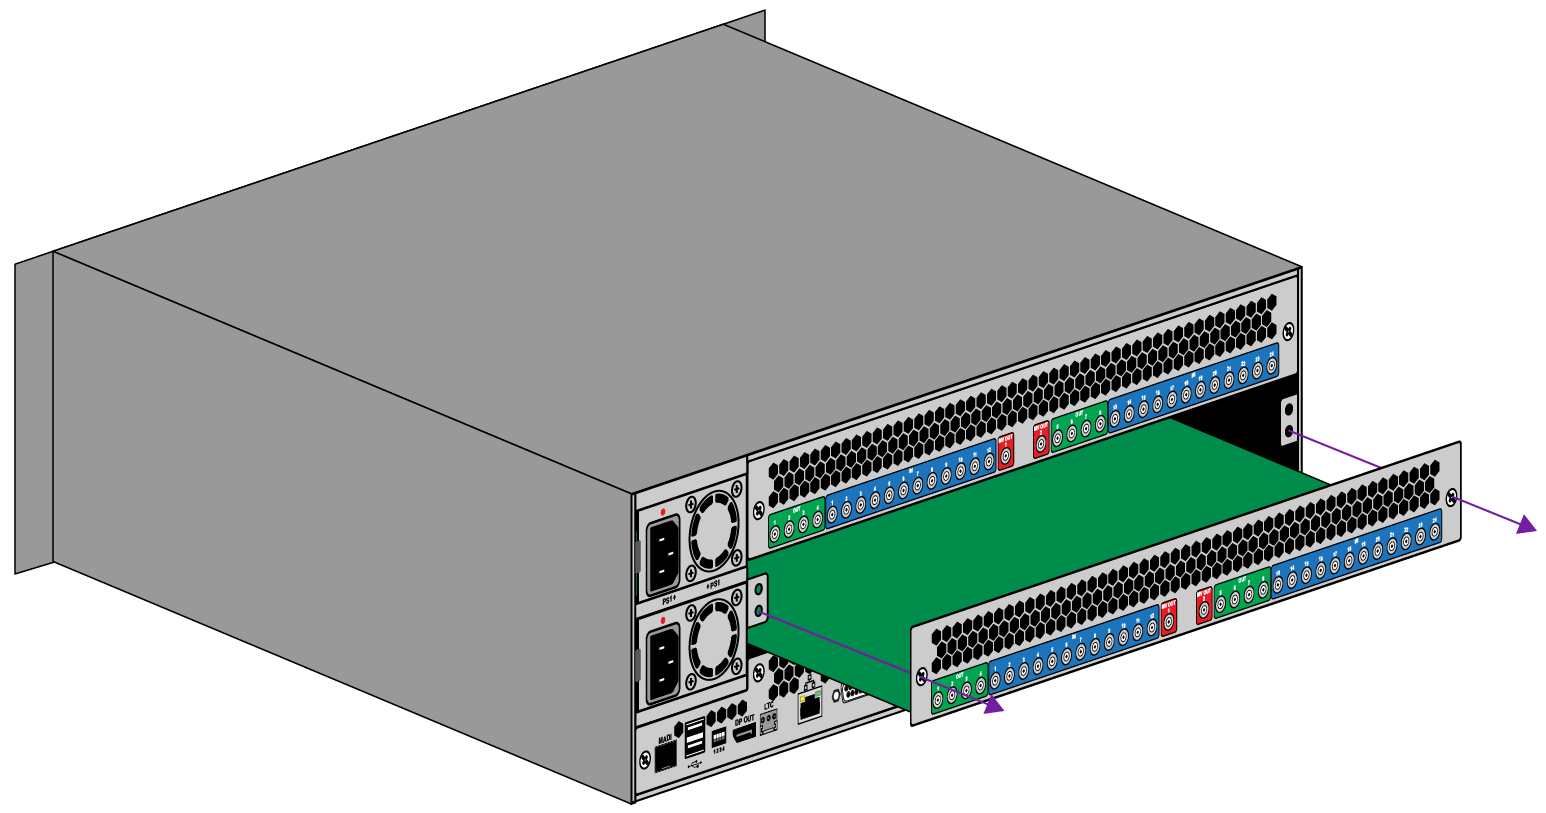
Using the loosened bolts as handles, firmly pull the board out of the slot and place it on a clean, dry, static free surface.

- Align the edges of the new board with the guides on either side of the slot you are installing the board into.
- Slide the board into the slot until you feel the connectors on the back of the board contact the midplane. The board should slide into the slot easily until the end.
- Firmly push the board into the slot the seat the connectors. The board should be flush with the boards in the other slots and the metalwork.
- Tighten the bolts on either side of the board to secure it in place.
-
Reconnect the power supplies and power on the frame.
The frame will automatically recognise the new board.
