To Assign Audio Channels to Mix Layers
Select which audio sources are visible on each mixer layer.
-
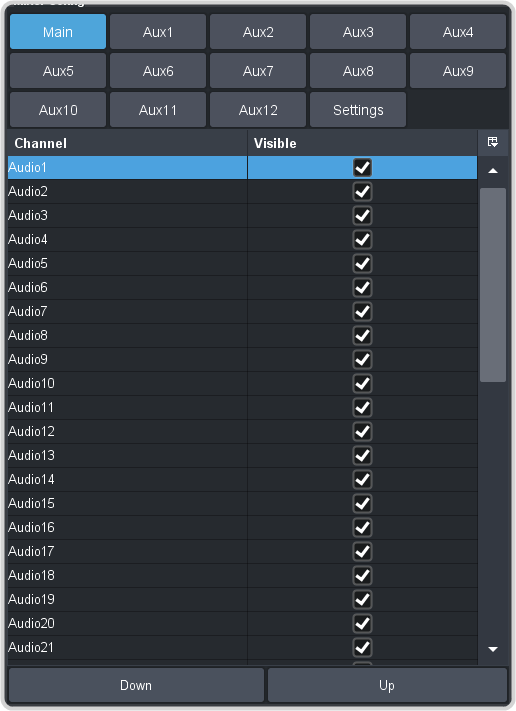
In the Mixer Config area, click the mixer layer tab (Main, Aux X) you want to show or hide
audio faders on.
-
Click Settings.
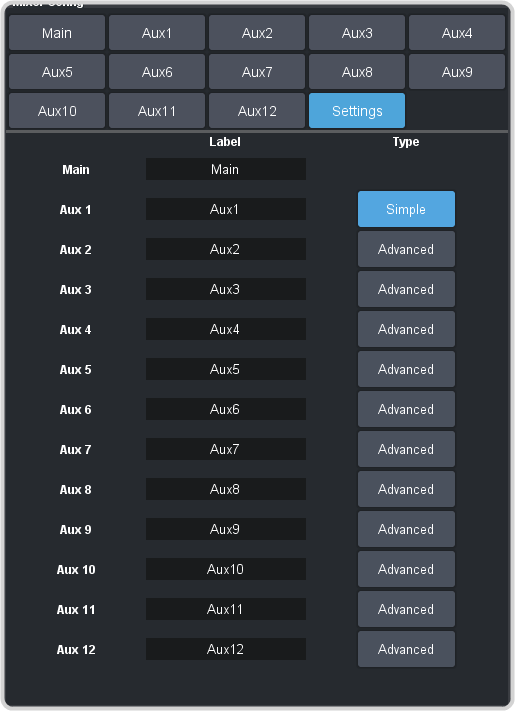
Tip:To change the name of a mixer layer, enter a new name in the field for the mixer layer you want to change the name for. If you click Settings again you will see the new name applied to the mixer layer selection button. -
Click a Mode button to select how the aux mixer layer is used.
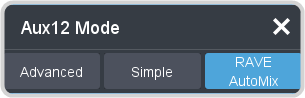
- Advanced — standard mixer layer with full functionality.
- Simple — simplified mixer layer where Pre/Post is unavailable and the faders are locked at 0db.
- RAVE AutoMixer — the mix layer is configured as a RAVE AutoMix. Refer to RAVE AutoMix for more information on the automixer.
-
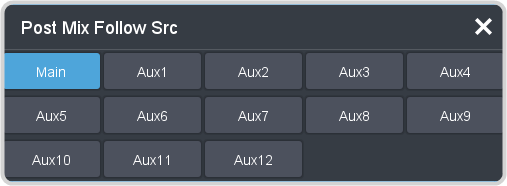
Click a Post Follow button to select the mix layer you want to use as the post-fader source on the selected aux layer.