
To Capture a Still
- Insert your USB drive into the USB Port on the switcher. You must wait 5 seconds for the switcher to recognise the USB drive.
-
Click Navigation Menu > Live Assist > Media > Capture.
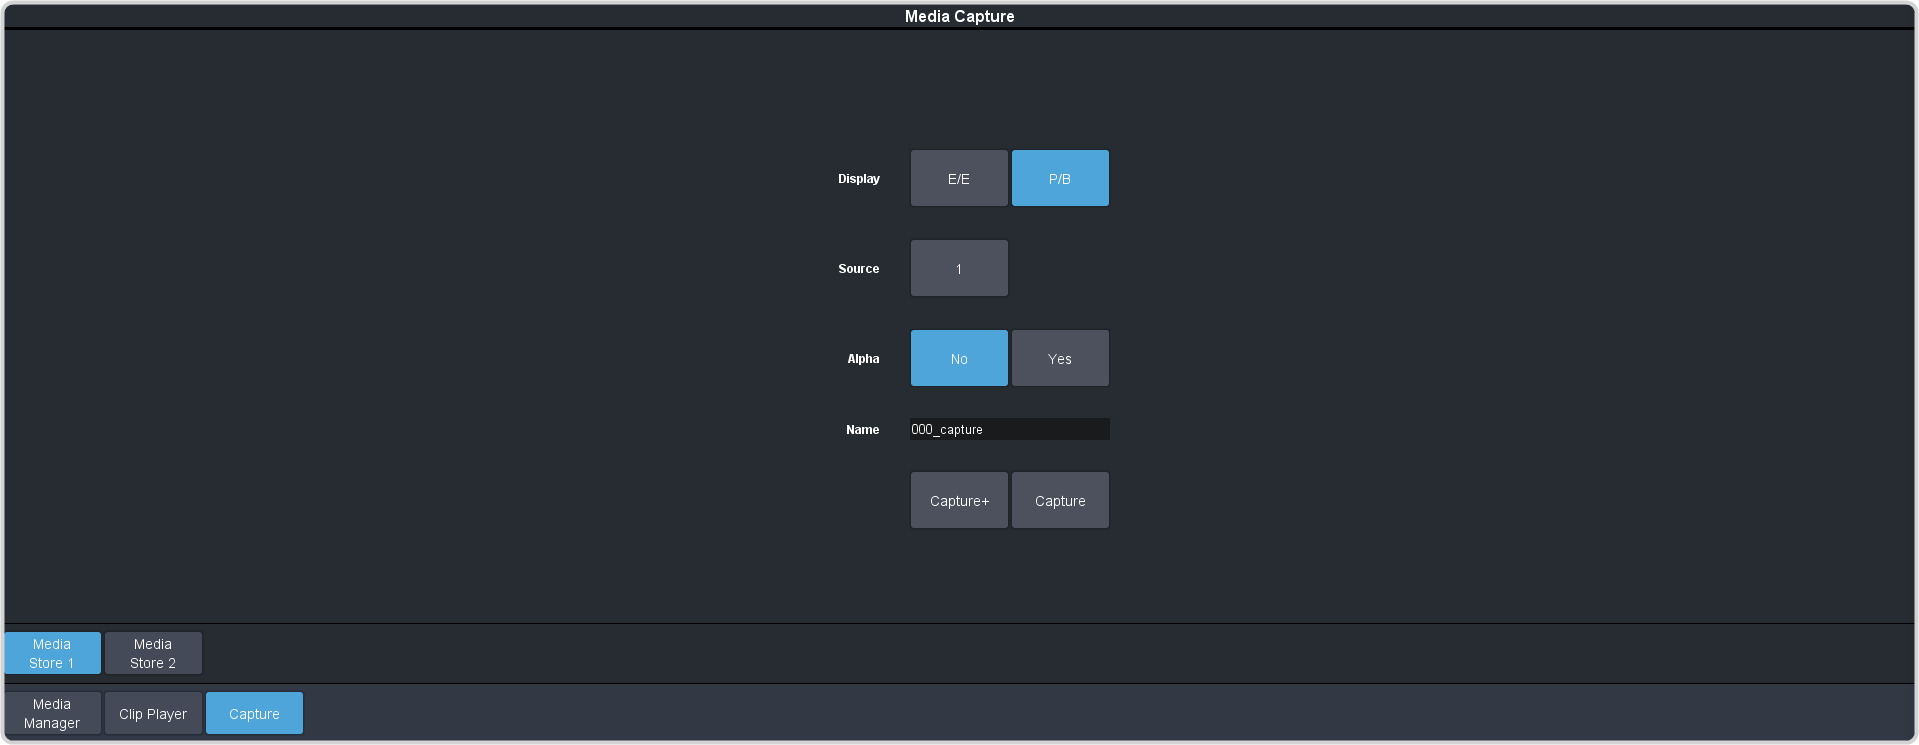
- Click Media Store 1 or Media Store 2 to select which Media-Store you want to use for the capture.
-
Click the Display button to select the mode you want the Media-Store in.
- E/E — electronic-to-electronic, or record, mode allows you to capture a single frame media item.
- P/B — playback mode allows you to review your single frame media item.
- Click the Source button and select the video source you want to capture.
- Click the Alpha button to select whether to include the alpha with the capture (Yes) or not (No). You must have an input BNC selected as the capture source to capture the alpha.
-
In the Name field, enter the name you want to give to the file. This will be the file name that the still is stored to on the USB.
Note: File or folder names cannot contain symbols such as ! @ # & * ( ) / , ? \' " and cannot start with an underscore (_). Files or folders that start with a period (.) are hidden.
-
Click a Capture button to capture the still.
- Capture+ — capture a still to the selected file name (Name) and increment the file name by one.
- Capture — capture the still to the selected file name (Name).
Note: Capture will overwrite any existing still with the same file name.