
To Create/Edit a Replay Event
A replay event puts the server into replay mode and optimizes the interface for a replay
Note: The server must be configured into the ISO mode you want to use for your replay setup and any Control Surfaces must be connected to the server and assigned to playout channels before you can create a replay event.
Tip: If you have already created a replay event, you can right-click on the file in the Clip Library and click
Modify Replay Event.
-
In Mira Explorer click
 on the ISO record channels to confirm the input video from the cameras.
- Click New > New Replay Event.
-
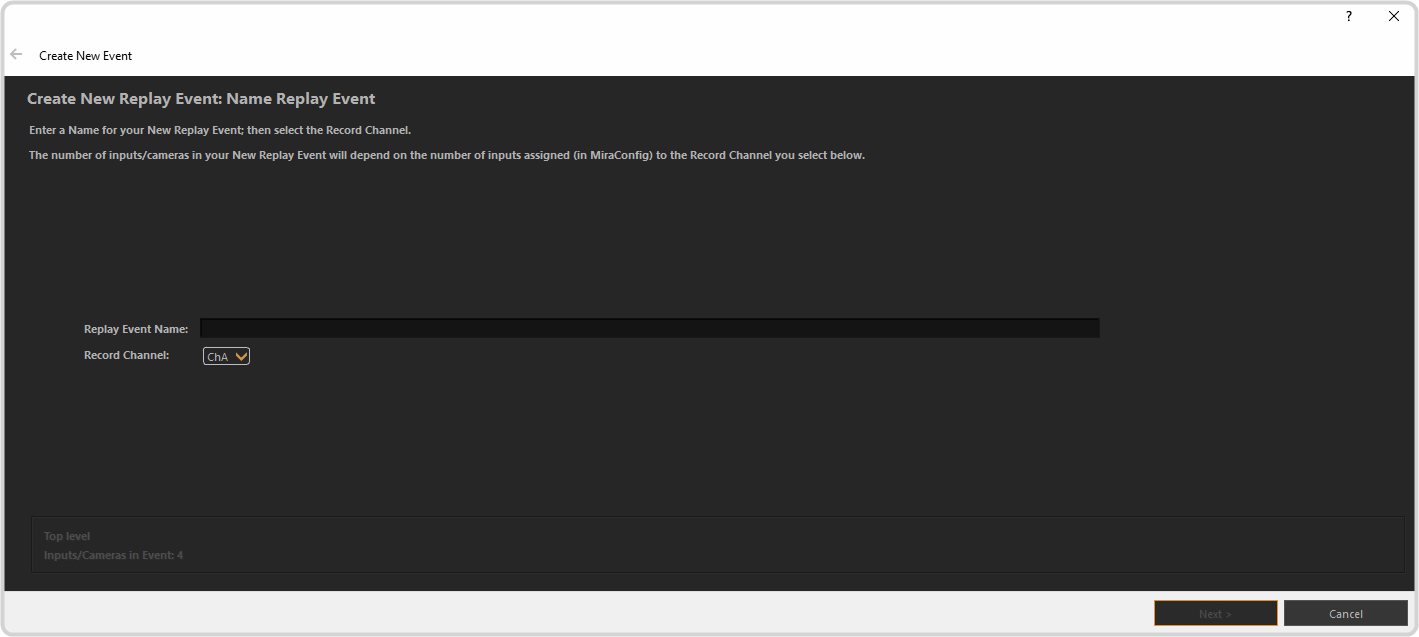
In the Replay Event Name field, enter a name for the replay event.
-
On the Record Channel list, select the channel transport that you want to use for the multi-channel ISO clip.
Note: The ISO mode records multiple video streams into a single clip and uses a single channel transport. In most cases this will be channel A (ChA).
- Click Next.
-
Do you have a User Setup file for your Control Surface that you would like to use?
- Yes – click Select Mira Control Surface User Setup, navigate to the file, and click Open.
- No – proceed to the next step
- Click Next
-
Do you have a Replay Event Template that you would like to use?
- Yes – click Select Replay Event Template, navigate to the file, and click Open.
- No – proceed to the next step.
Tip: If any clips included in a playlist in the template have been moved or deleted they will be listed as missing. Click Select Path to Locate Missing Clips, navigate to the new location for the clips and click Select Folder. If you want to save this new location for the clips select Save New Paths back to original Replay Event Template. - Click Next
-
Do you have an XPression DataLinq server that you want to use to provide clip naming and tagging?
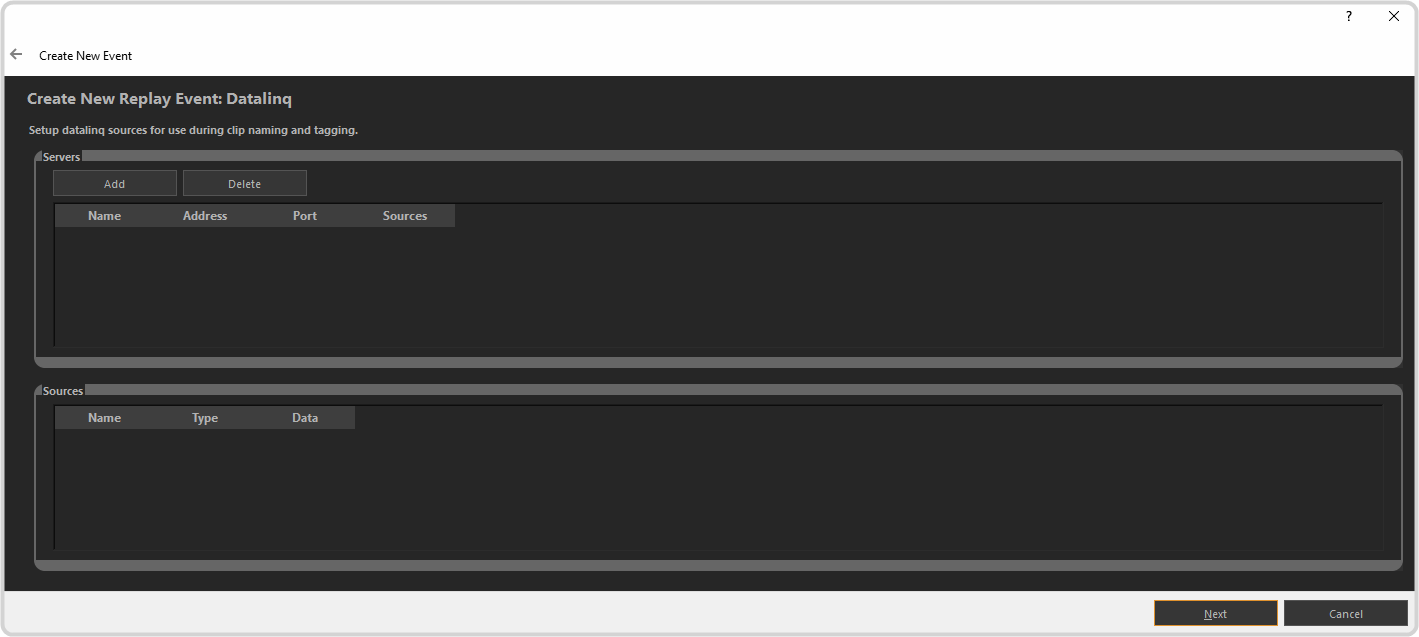
- Yes — click Add and enter the name (Name), IP address (Address), and port (Port) for the DataLinq server.
- No — proceed to the next step.
- Click Next
-
In the Camera Name field, enter a name for each camera feed.
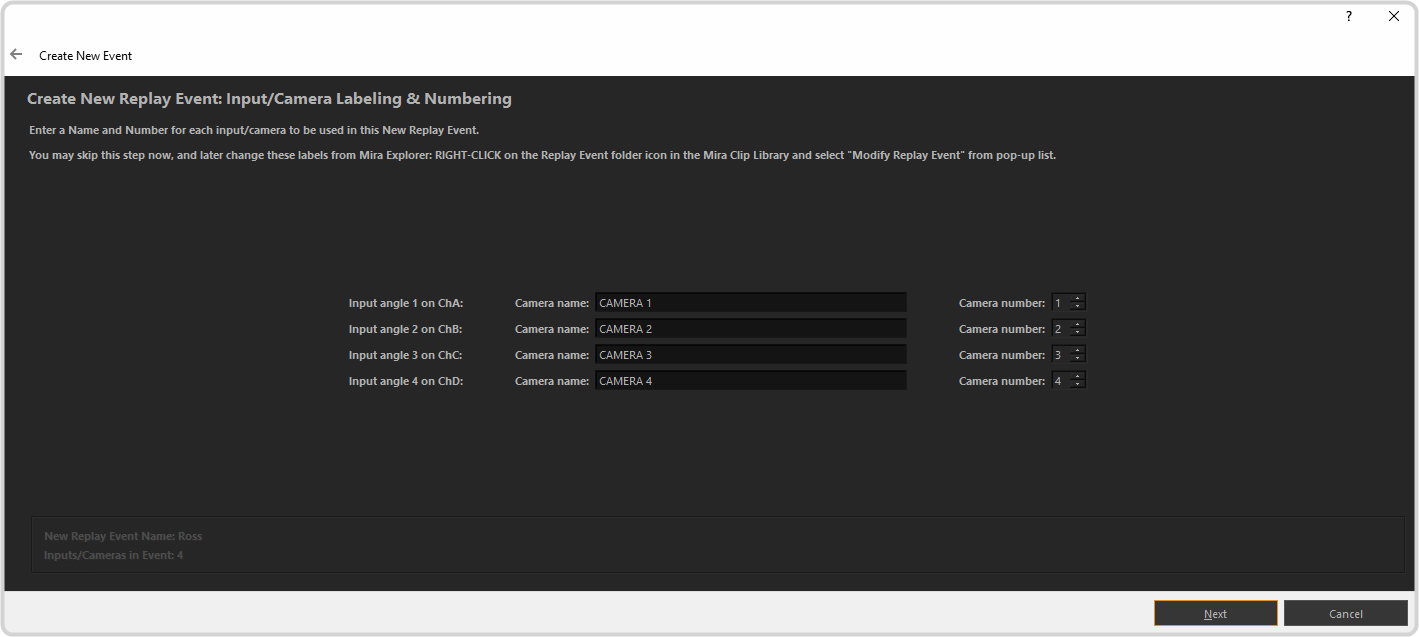
- On the Camera Number list, select the number you want to assign to each camera feed.
- Click Next.
-
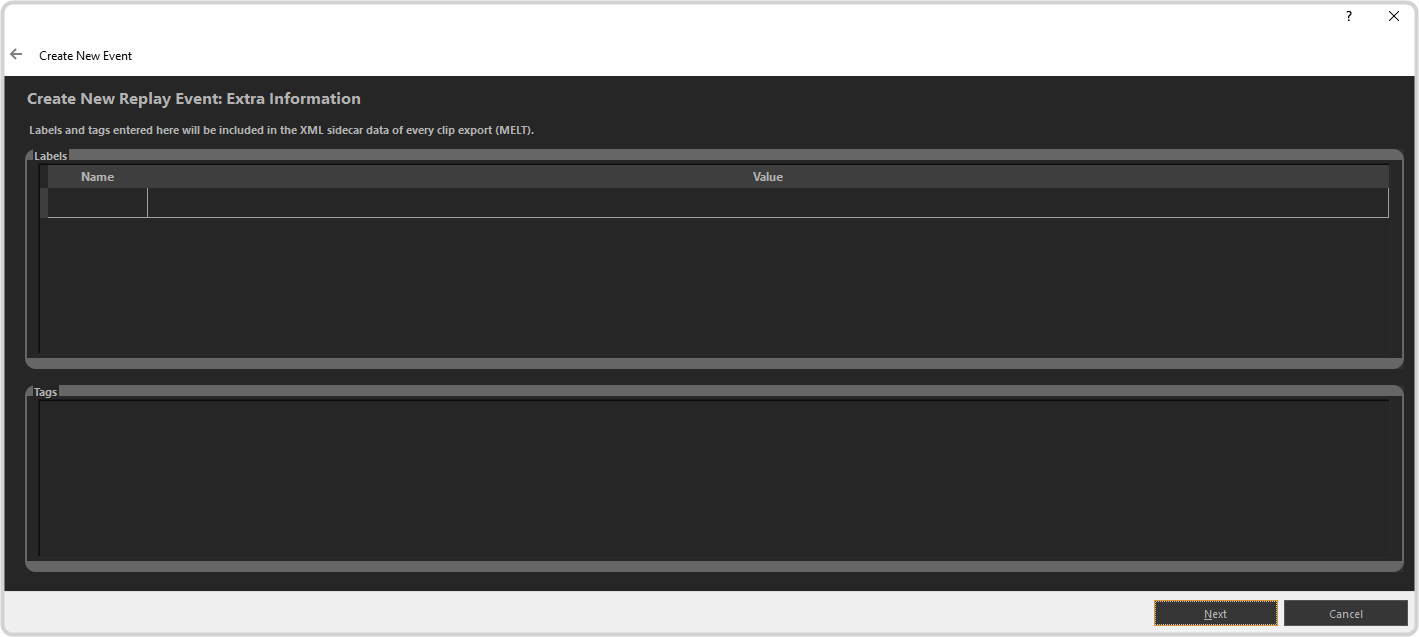
You can apply preset names to replay clips from the Control Surface using the softkeys. Set the names you would like to use as follows:
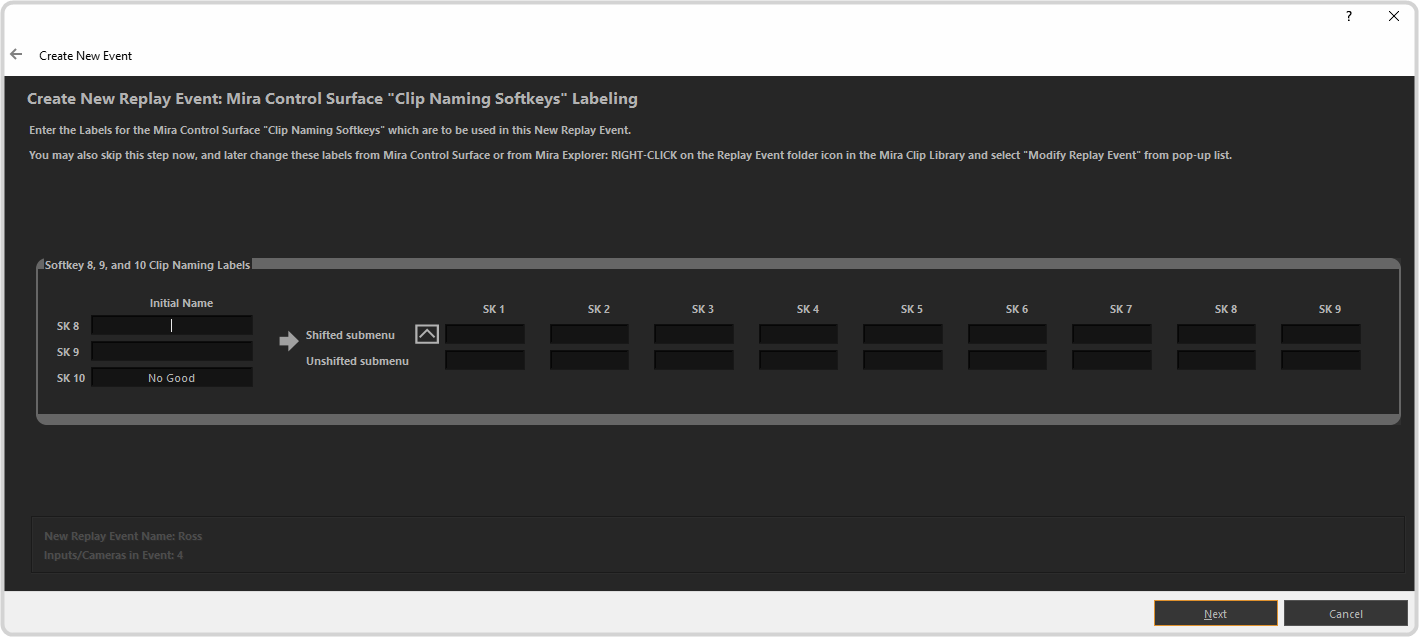
- Click Next.
-
You can add preset tags that can be applied to replay clips for each individual team, or both, using the softkeys. Set the tags you would like to use as follows:
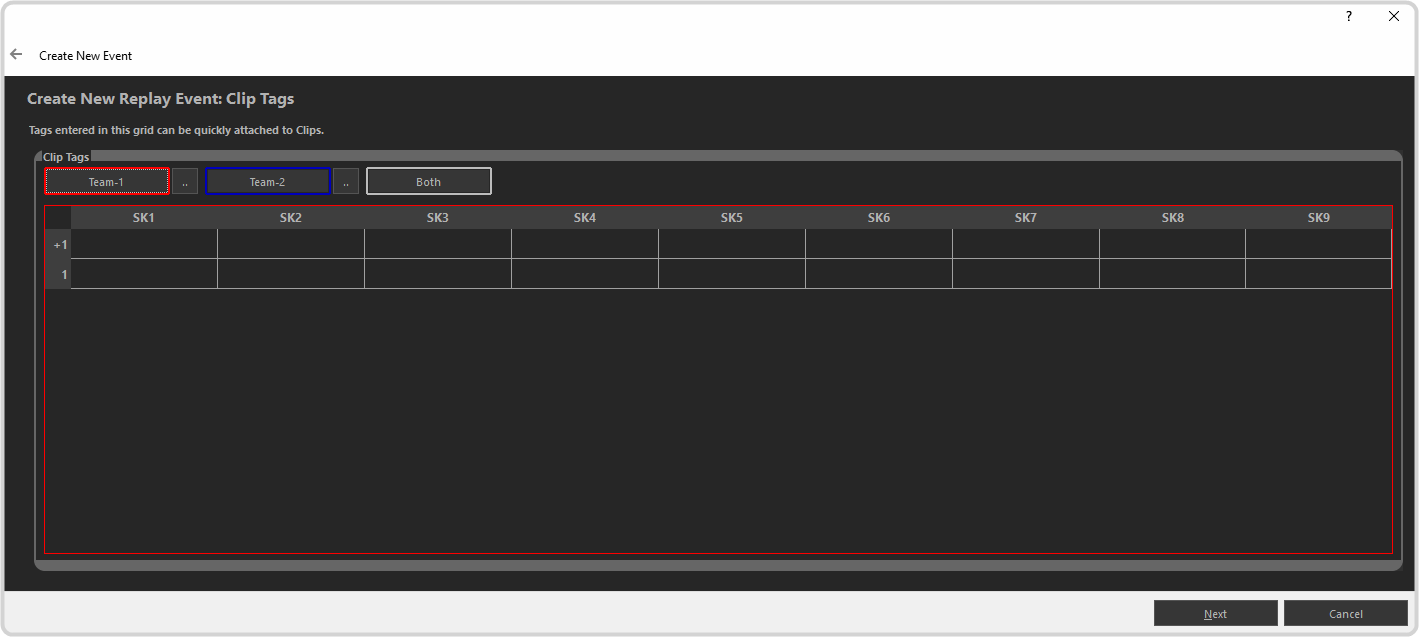
- Click Next
-
You can add preset tags that can be applied to replay clips for each individual team, or both, using the softkeys. Set the tags you would like to use as follows:
- Click Next
-
Click Create Event.
The replay event has been created in the Clip Library.

-
Click Start RECORDING.
The replay event is now recording in the channel transport.
-
Click Finish.
The recording channel shows it is recording the camera inputs.

With the event created and recording, you can now open the event on the Control Surface to launch the replay operation interface.