
To Add a Watch Folder
You can create multiple watch folders that the import utility will monitor and automatically import any media files that are modified or copied into the watch folder(s).
Note: The
Mira Import application must be running for the watch folder functionality to work. You can set up the application to automatically launch and
start the watch folder function when the server is powered on.
- Launch the Mira Import application.
-
In the Import Method list, select the how you want to import the media file.
- Software Transcode — use the software based transcoder to import the media file that is in a different media format than your hardware.
- Native Import Only: No Transcoding — import the media file that is in the native media format for your hardware.
Tip: Select Native Import Only if the file you are importing is one of the following or use the Software Transcoder for any published codec. No channels are consumed for either of these operations.- Abekas JPEG-2000.clip — if your server is equipped with the JPEG-2000 video hardware.
- DVCPRO-HD.mov/.mxf — if your server is equipped with the DVCPRO-HD video hardware.
- AVC-Intra 100.mov/.mxf — if your server is equipped with the AVC-Intra video hardware.
The Mira Import window is shown.
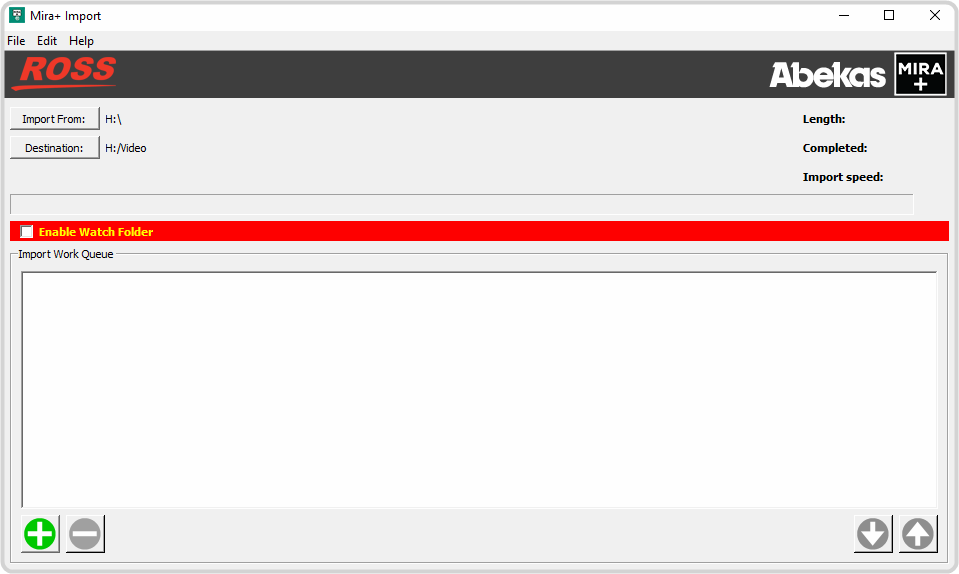
- Click File > Watch Folders....
-
Click Add Watch Folder... and select the folder that you want
Mira Import to watch.
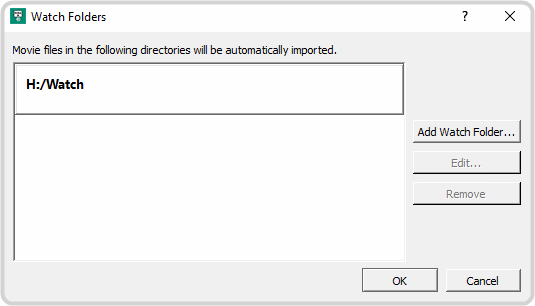
The folder can be on the local media drive or a network drive.
-
Click Select Folder to add the folder to the watch list. Repeat for any additional folders you want
Mira Import to watch.
Tip: You can remove a folder from the watch list by selecting it and clicking Remove Watch Folder.
- Click OK.
- Select Enable Watch Folder to start importing from the watch folders.