
To Apply a Video Border to a 2D DVE Key
A 2D DVE video border puts live video into the border space around the key.
Important:
All keyers on the same ME use the same border video source. If you change the source on one keyer, you change the source on all keyers on that
ME.
Note:
Video Borders is only available for an ME.
Note:
You can only apply a border to a DVE key. Fly Keys, such as chroma keys or auto select keys with DVE applied to them cannot have a border applied to them.
-
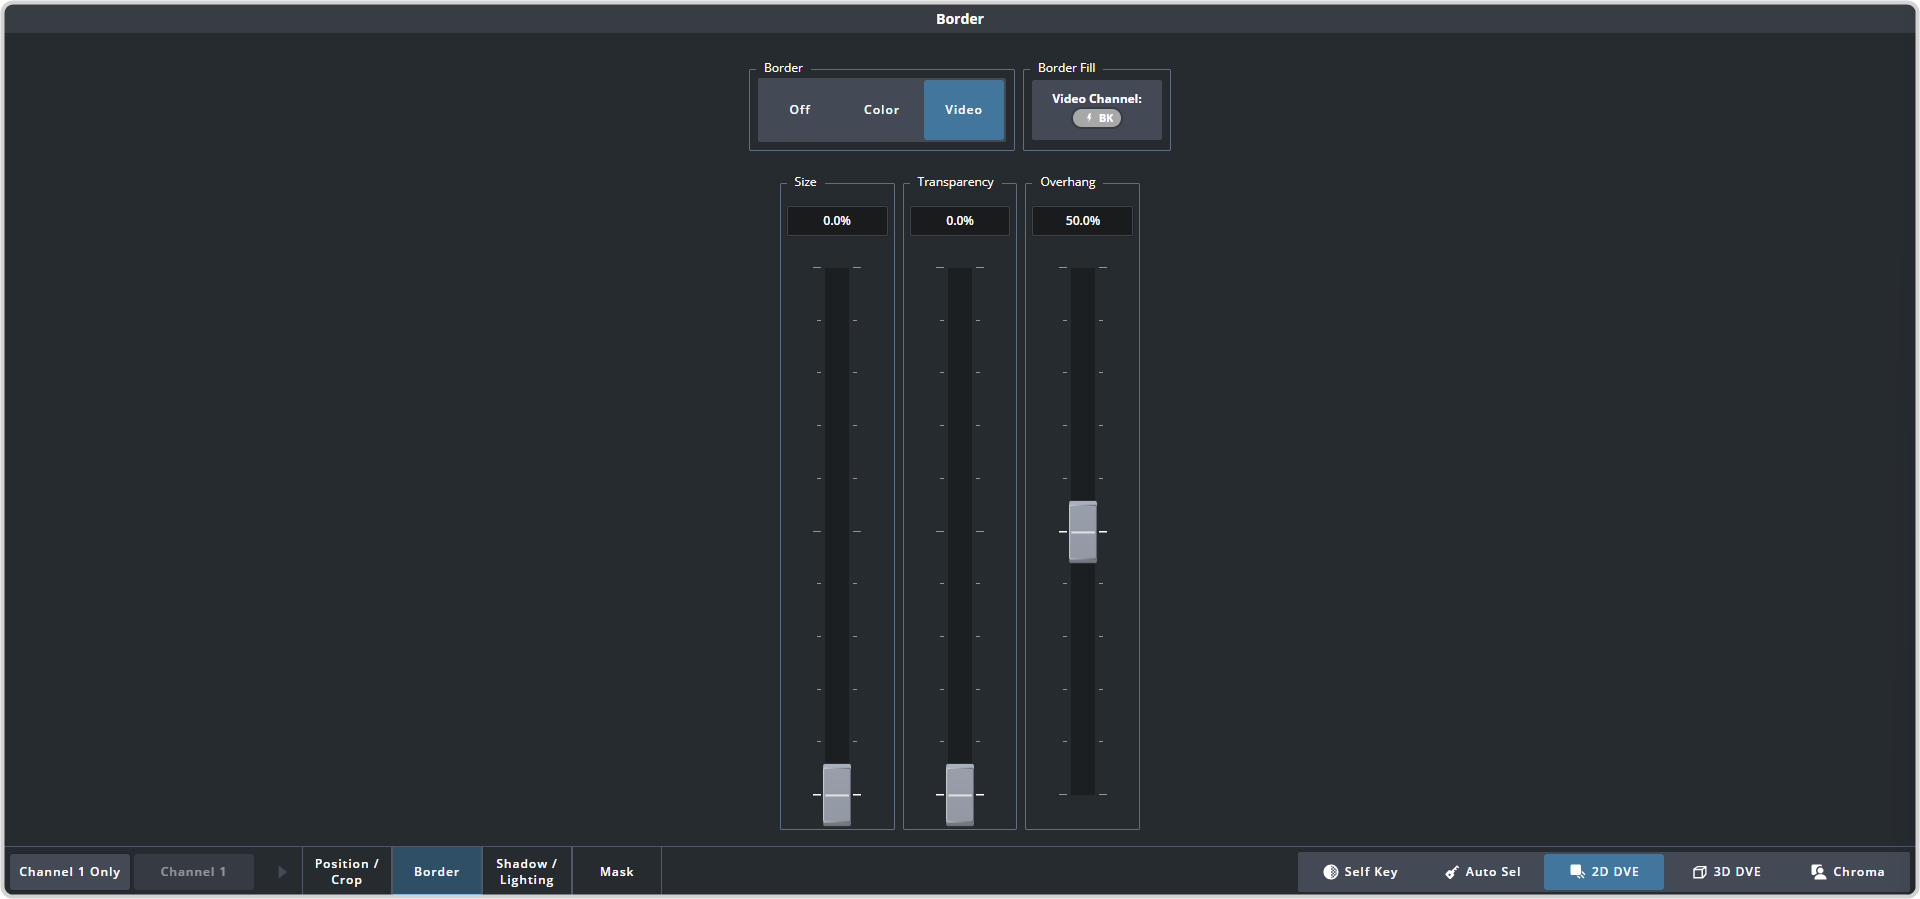
In the Border area, click Video to apply the video border to the key or Off to have it not visible. The border
setting are not changed when the border is turned off.
Tip:To seamlessly apply a border with a custom control or memory, recall the border settings with the border turned off and then turn the border on with another CC event or memory. Remember to insert a pause between the border settings and turning the border on to allow for the border settings to be applied. -
Click the Border Fill button and select the video source you want to insert into the border of the key.
Note:The sources that are available for the border fill depends on the ME you are using. Resource from one blade are not available to another blade directly.
