ViewControl integrates the MultiViewer output of the switcher with a graphical overlay from DashBoard to
provide live video in the ViewControl windows. The MultiViewer must be configured to properly align the video for the buttons on ViewControl.
Note: The switcher must be operating in a 1080p, 1080i, or 720p video format for ViewControl to operate.
Note: Only the Video Processor MultiViewer can be used for ViewControl.
-
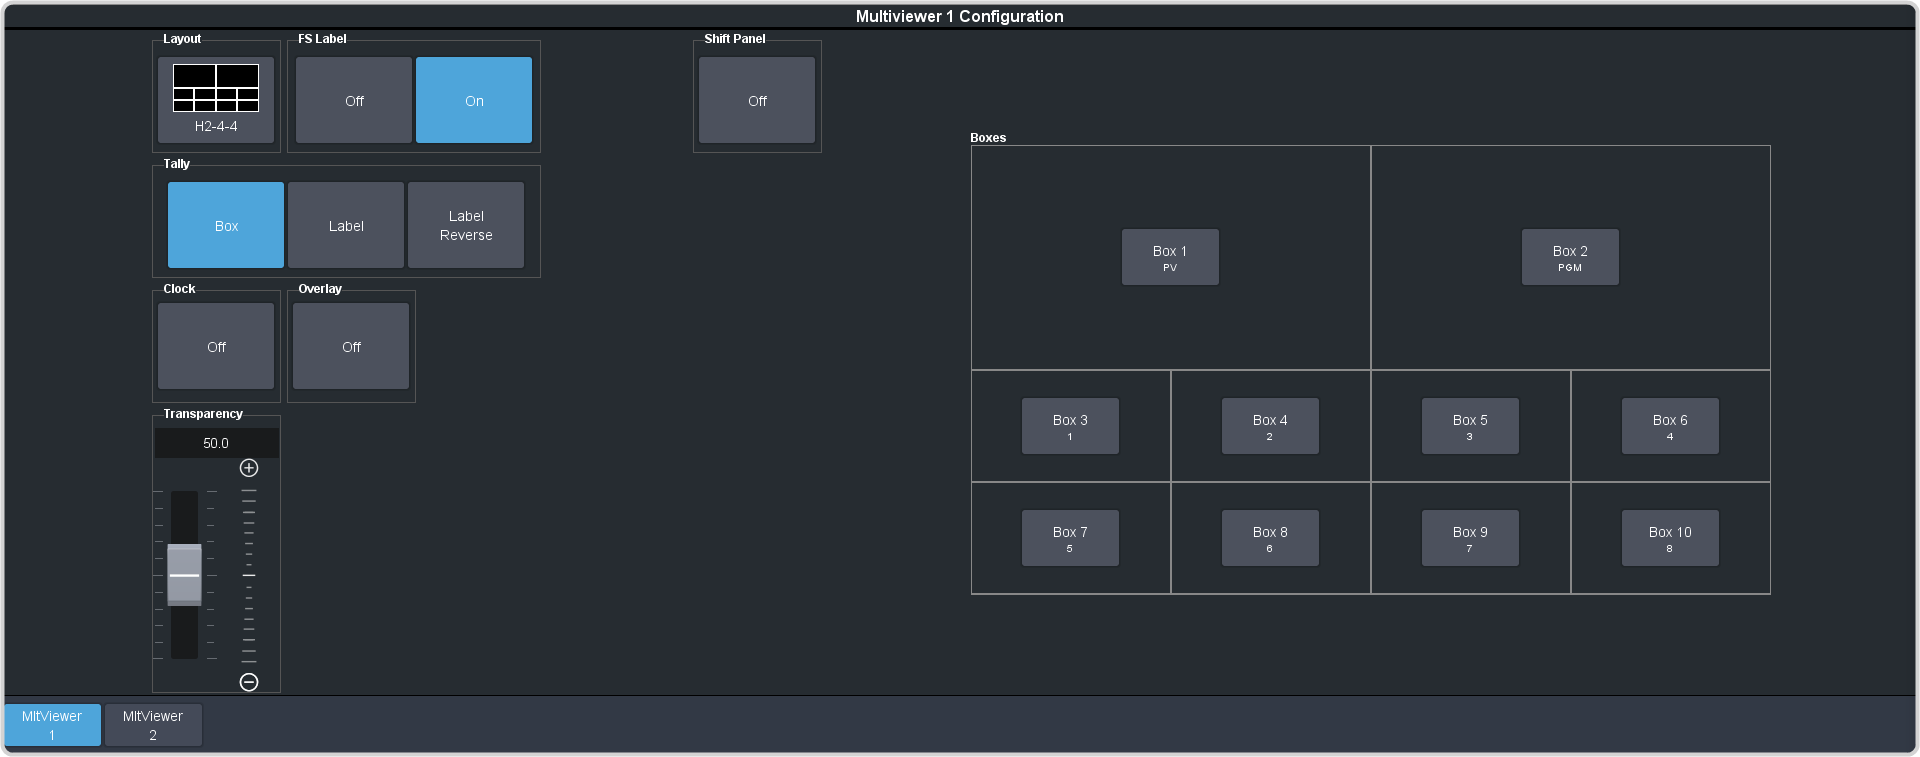
Click Navigation Menu > Configuration > MultiViewers and click MltViewer 1.
-
Click the Layout button and select a ViewControl layout.
- VCtrlT — (ViewControl Top) places the boxes at the top of the screen.
- VCtrlB — (ViewControl Bottom) places the boxes at the bottom of the screen.
Tip: If you want to create a custom ViewControl layout, you can use one of the other MultiViewer layouts to create the
look you want, and use PanelBuilder in DashBoard to assign functionality to the layout. Sources can be hidden from a layout by
assigning black to the box. For more information on PanelBuilder, refer to the DashBoard documentation.
-
Click the Overlay button and click On to turn the overlay on.
-
Click the Source button for the overlay input from DashBoard. This is keyed over the MultiViewer layout.
-
Use the Clip slider to adjust the clipping of the overlay source.
At 0% the overlay source is completely opaque, and at 100% it is completely transparent.
-
Click on one of the Boxes buttons and set up how that box appears on the MultiViewer.
-
Click on the source you want to select for the box.
Note: The large box on the left should always be assigned to PV and the large box on the right assigned to PGM.