To Perform a Transition on TouchDrive (Memory Area)
All transitions, with the exception of cuts on the background or key bus, have the same basic setup. The control panel offers physical buttons and mnemonics to setup and perform the
transition. Some panels have a memory area that can be used to set the transition rates.
Select the preset or key sources that you want to transition to on the buses.
Tip:
You can perform a quick, or hot, cut on the background bus by simply selecting a different source.
In the Transition area, select the elements you want to include with the transition. If you are including multiple elements, press and hold the first button and
press the other buttons to include them in the same transition.
Note:
A key should be included in the transition if it is going on-air or off-air. The transition changes the on-air state of the keyer. If a key is on-air, a red indicator
is visible on the display just above the key and the CUTbutton for that key is red in the Keyer area.
In the Transition area, select the type of auto transition you want to perform. Refer to the manual that came with your switcher for information on setting up
these transitions.
DISS — perform a dissolve or WhiteFlash transition
WIPE — perform a wipe transition
DVE — perform a DVE transition
MEDIA WIPE — perform a MediaWipe transition
Note:
The TRANS X buttons are configurable and can be assigned different functions.
Tip:
Press and hold DISS and press Flash on the row control menu to select a WhiteFlash
transition.
The display in the Transition area shows the current setting for the transition type. Tap one of theses settings to show additional options.
Tip:
Live Assist follows the transition type selection and shows the settings for that transition type.
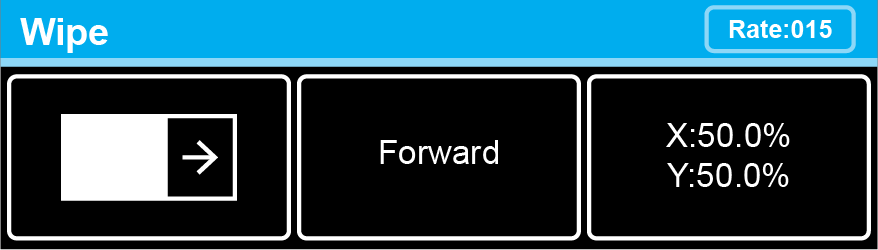
Left — the left button shows the current pattern for the wipe or DVE transition. Tap the button and swipe left or right on the display to select a different pattern. For
a MediaWipe the button shows the name of the media item being used for the transition.
Center — the center button shows the current direction for the wipe, DVE, or MediaWipe transition. Tap the button and select a different
direction for the transition to be performed in.
Right — the right button shows the current position of the pattern for the wipe transition or the settings for the MediaWipe transition. Tap the
button to have the 3-knob display show the position setting of the pattern and use the positioner to move the pattern around.
In the Memory area, enter the rate that you want the transition performed at. This is the speed, in frames, that it takes for the transition to complete. A Cut
or manual fader transition does not use the transition rate.
Background — press ME RATE and use the keypad to enter a new rate, in frames, and press ENTER. The rate is shown on the
display on the Transition area.
Key Only — press KEY RATE and use the keypad to enter a new rate, in frames, and press ENTER. The rate is shown on the
Keyer area for each individual key.
Note:
The KEY RATE is only used for key only transitions. Keys included in with the background are
transitioned a the ME Rate.
Perform the transition.
Auto Transition — press AUTO. The transition is performed at the set transition rate.
Cut — press CUT.
Fader — move the fader from one limit to the other. The rate at which you push the fader determines the speed of the transition.
If a pre-delay has been set, and the ROLL CLIP button is active, the switcher will apply the pre-delay interval before performing the transition.