
To Record a Custom Control
A basic custom control records a series of events that are played out in the same order they are recorded.
-
Click Navigation Menu > Custom Control > Editor.
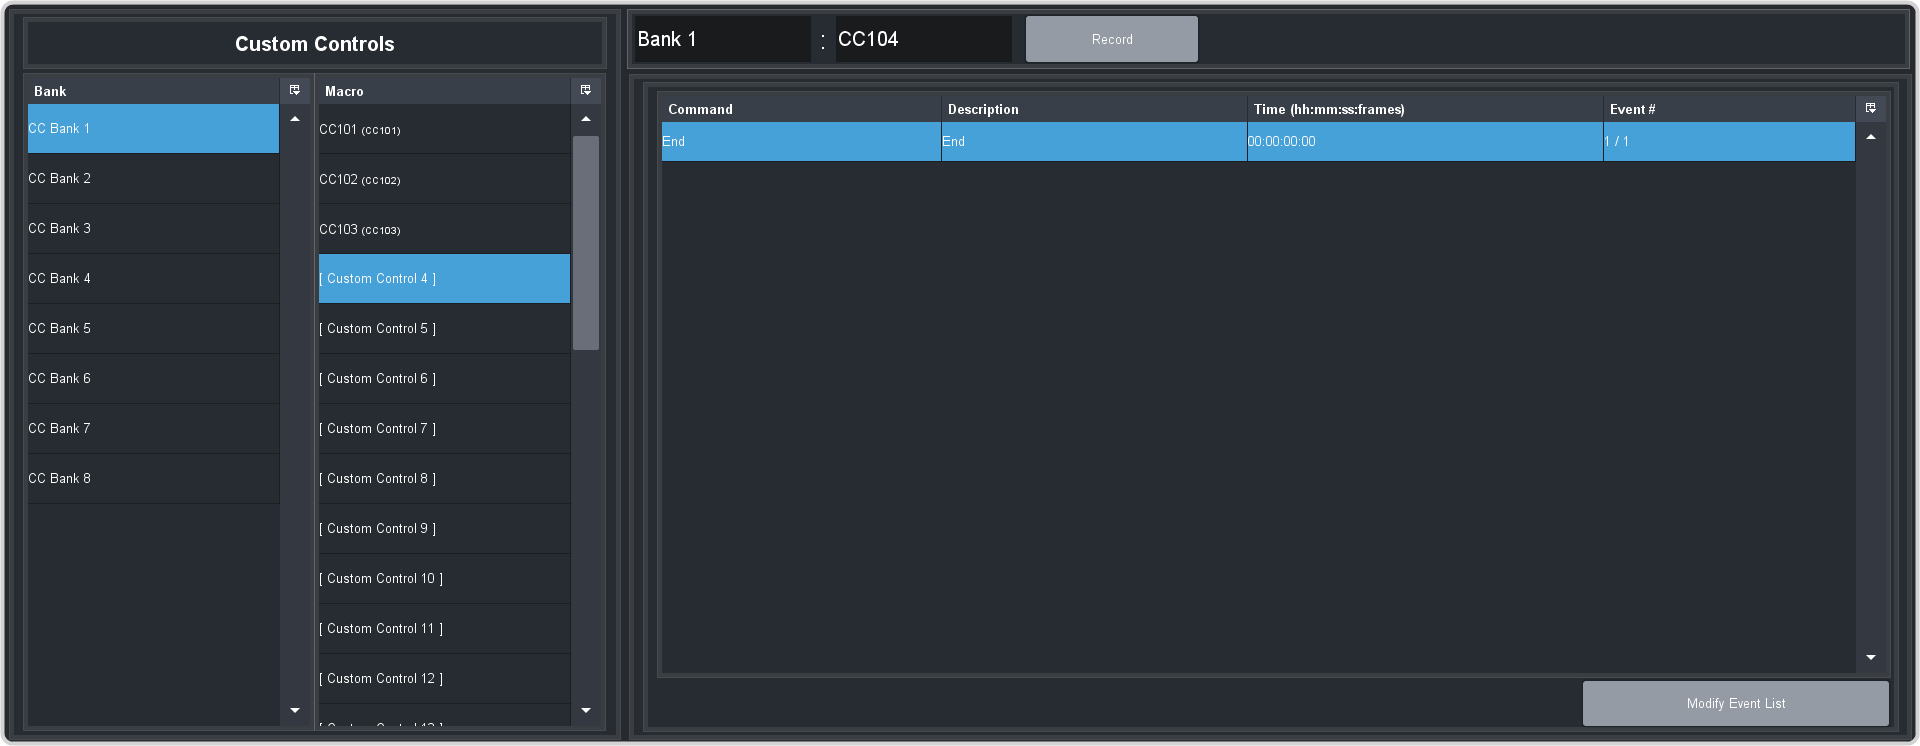
- Click a Bank button to select the bank that the custom control you want to record will be stored on.
-
Click a Macro button to select the custom control that you want to record to. If the custom control already has a macro recorded, the name of the custom control
is shown in the list.
Tip: You can rename both the custom control and the bank by entering a new name in the field next to the record button.
-
Click Record.
Tip: The switcher can be set so that each command is automatically separated from the previous command by a pause equal to the real-time delay between you entering commands. Refer to To Set the CC Pause Mode for more information.
The CC/UP button on the control panel, as well as the button assigned to the CC on the bus, flash red when the CC is recording.
-
Insert the events you want to record. Events can be entered from the menu or from actions directly on the control panel.
Each custom control can have a maximum of 998 events, plus the End event.
Note: When the switcher runs a custom control, it attempts to execute each event in the custom control as quickly as possible. If an event takes time to complete, the event may not be complete before the switcher attempts to execute the next event. For example, if your custom control has a memory recall followed by a transition, a pause should be added between the memory recall and the transition to ensure that the memory is fully recalled before the transition is performed. The same applies if you want to add events after a transition. -
Click Stop Recording to finish recording.
Tip: Click Cancel if you do not want to store your events to the custom control.