MultiScreen
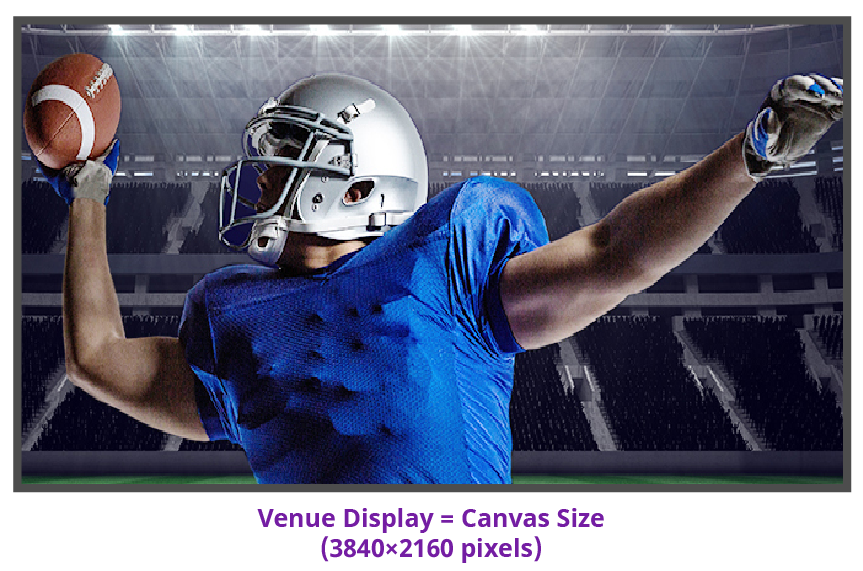
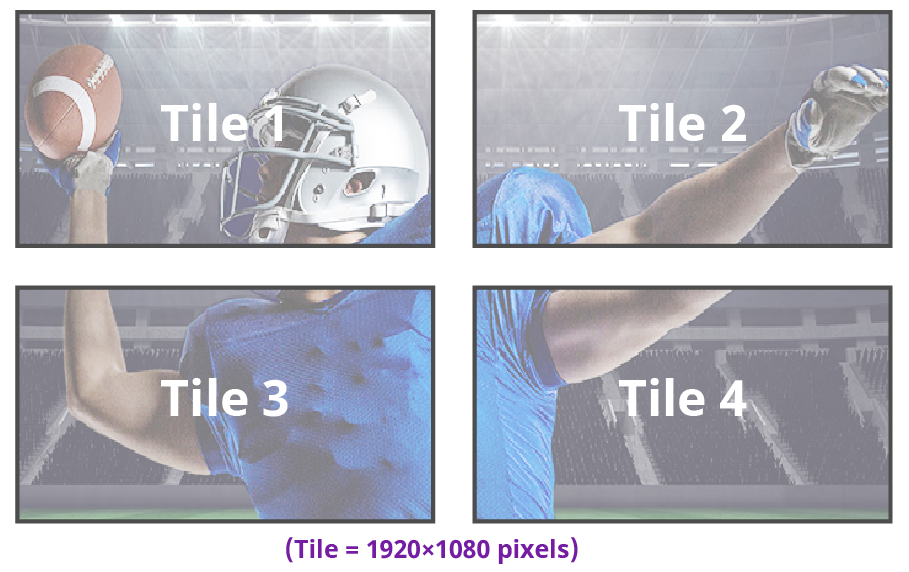
MultiScreen works by breaking your display into individual panels. Each panel is represented by a tile in MultiScreen and the entire display is represented by the canvas.
To properly set up MultiScreen you must calculate the total number of pixels on your display (width and height). In the example shown below we are using a display that is 3840 pixels wide and 2160 pixels high. This information is entered as the canvas size.

Once the canvas has been set, you need to calculate how many tiles it will take to cover the canvas. The size of the tiles is determined by the video format the switcher is operating in. For example, if you are a 1080 format, each tile will be 1920 pixels wide by 1080 pixels high. MultiScreen can automatically position the tiles in an X by Y grid over the canvas.

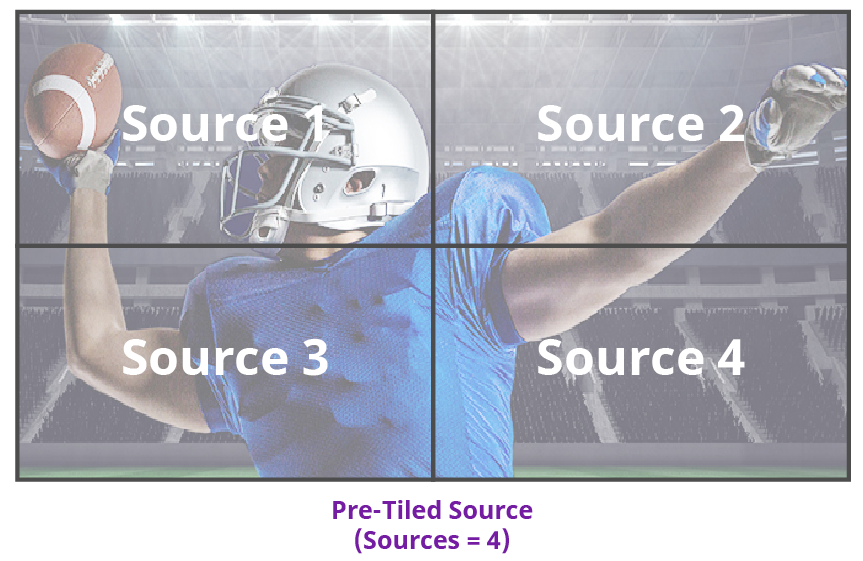
Putting video onto the tiles can be done in a number of ways, depending on how the background graphic you want to use was created. In the case of a pre-tiled source, the background image has already been divided up into individual segments. A separate video source is fed into the switcher for each tile. In the example below, tile 1 is fed the video source on BNC 1 (Source 1), tile 2 is fed form BNC 2, and so on.

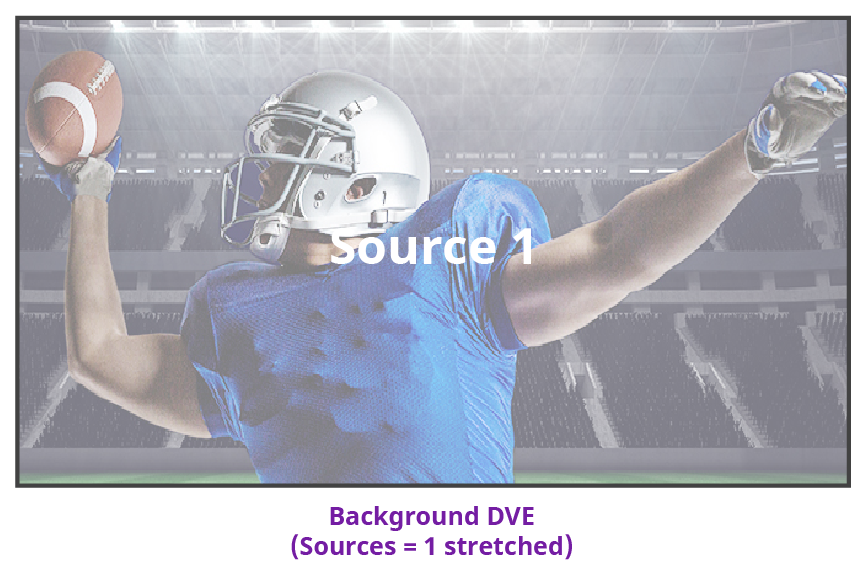
Alternatively to the pre-tiles sources, MultiScreen can use DVE resources to stretch a single image over the entire background.

