The custom page buttons on the Live Assist page can be assigned any custom page or node in DashBoard. This allows you to quickly access controls from another
device on DashBoard from Live Assist on your current device.
-
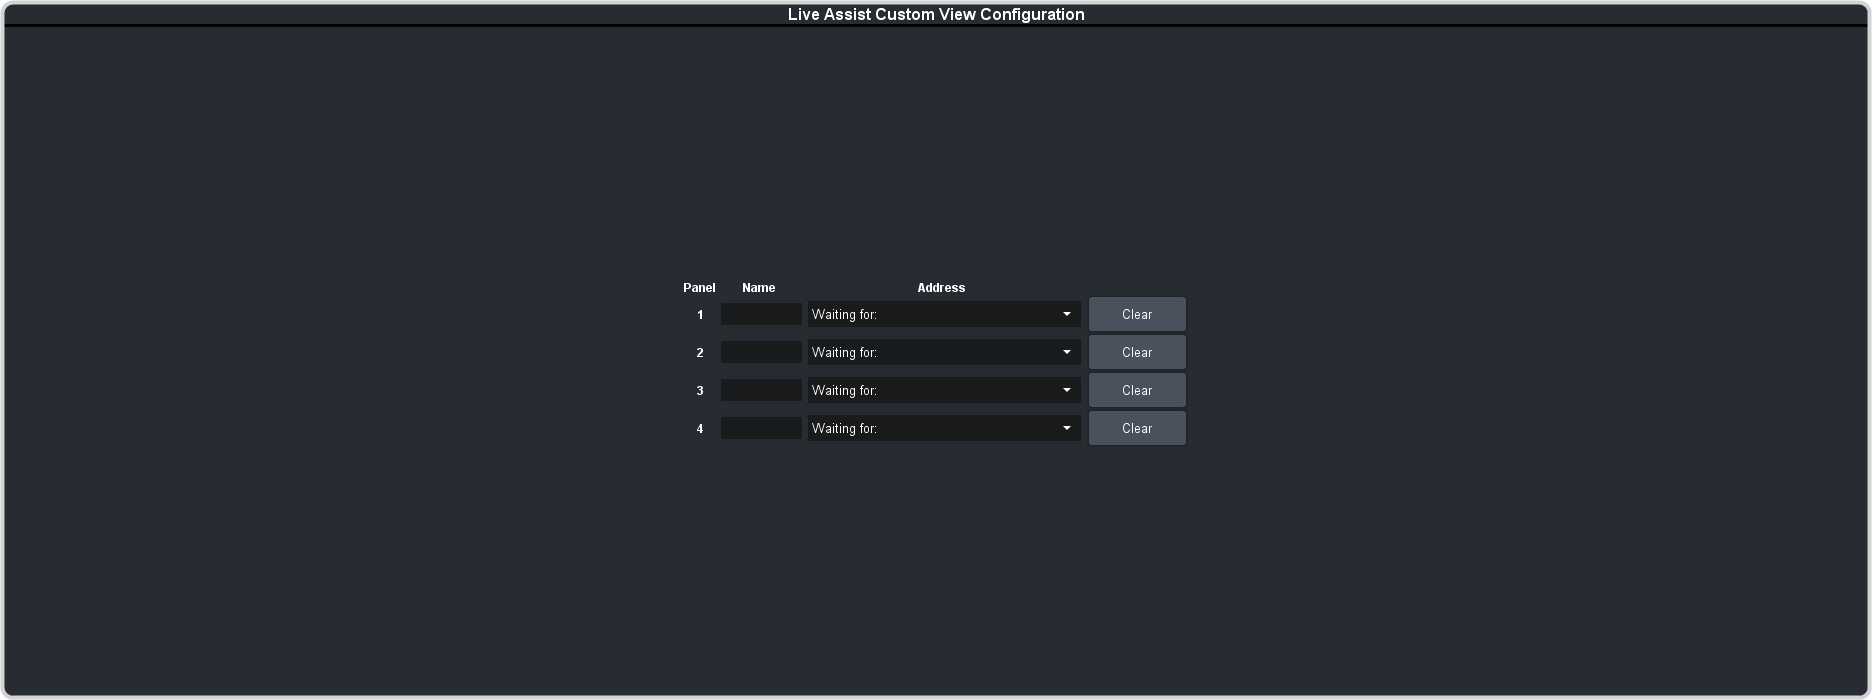
Click Navigation Menu > Configuration > System > Live Assist.
-
Click on the Address drop-down list for the custom page button you want to assign to a page.
-
Select the connection or custom panel that you want to assign to the custom page button.
- All Connections — expand the list and select the device and node that you want to assign to the custom page button. Some older DashBoard nodes from plug-ins may not display properly on the Live Assist buttons.
Note: Do not assign the Live Assist page to a custom page. A
custom page will not display Live Assist from any switcher.
- Open Panels — expand the list and select the open custom panel you want to assign to the list. You must have the custom panel running on DashBoard for it to appear in the list.
Tip: Click Clear to remove the custom page and name assigned to that button.
-
Click on the name field for the custom page button you are assigning a page to and enter a descriptive name for the custom page. The name appears on the button in Live Assist.