To Set Up a MultiViewer Clock
The clock can show the current system time or LTC data being sent to the switcher.
- Click Navigation Menu > Configuration > MultiViewers and select the MultiViewer that you want to apply the clock overlay to.
- Click the Clock button.
-
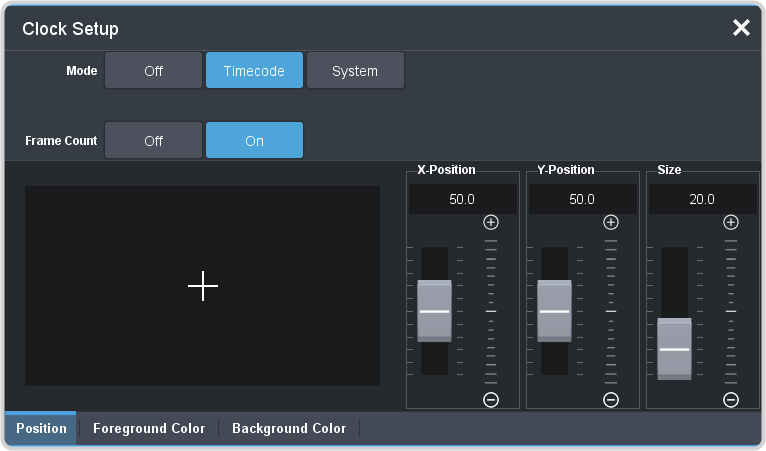
Click a Mode button to select the type of clock you want.
- Off — turns the clock off
- Timecode — displays the timecode fed to the switcher (hh:mm:ss:ff)
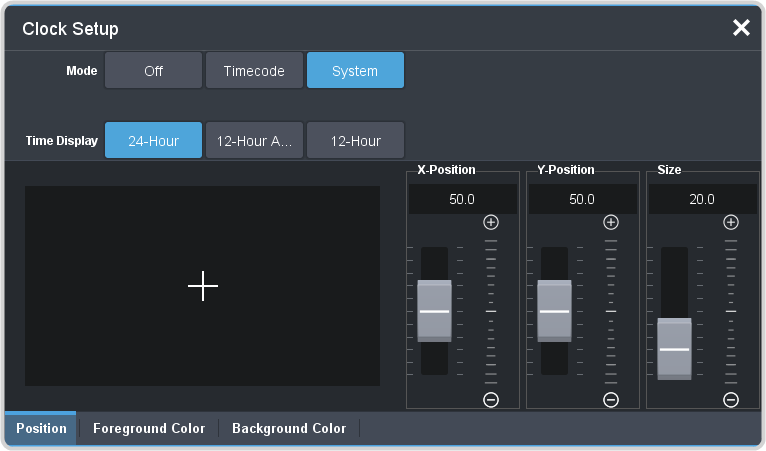
- System — displays the system time of the switcher in 12-hour or 24-hour format (hh:mm:ss)
-
For a Timecode clock, click a Frame Count button to select whether the number of frames for a timecode is displayed
(On) or not (Off).

-
For a System clock, click a Time Display button to set how the time is displayed.

- 24 hr — time is displayed in 24-hour format.
- 12 hr — time is displayed in 12-hour format without am/pm.
- 12 hr AM/PM — time is displayed in 12-hour format with am/pm.
- Click the Position tab.
- Use the X Position, Y Position, and Size sliders to position the clock and change the size.
-
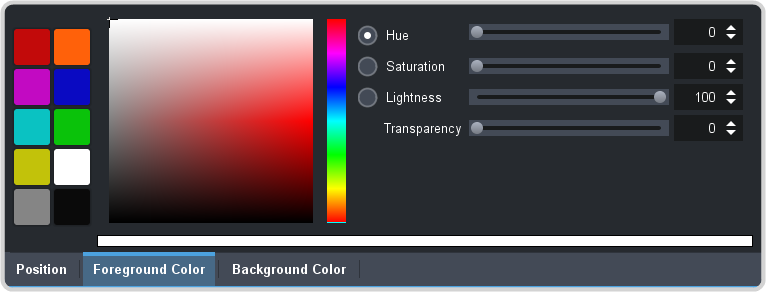
Click the Foreground Color tab and select the color and transparency you want to use for the text of the clock.

- Click the Background Color tab and select the color and transparency you want to use for the background of the clock.
