
To Set Up Audio Faders

Assign audio sources to each fader in the mixer.

  1. Click Navigation Menu > Audio Mixer > Config.
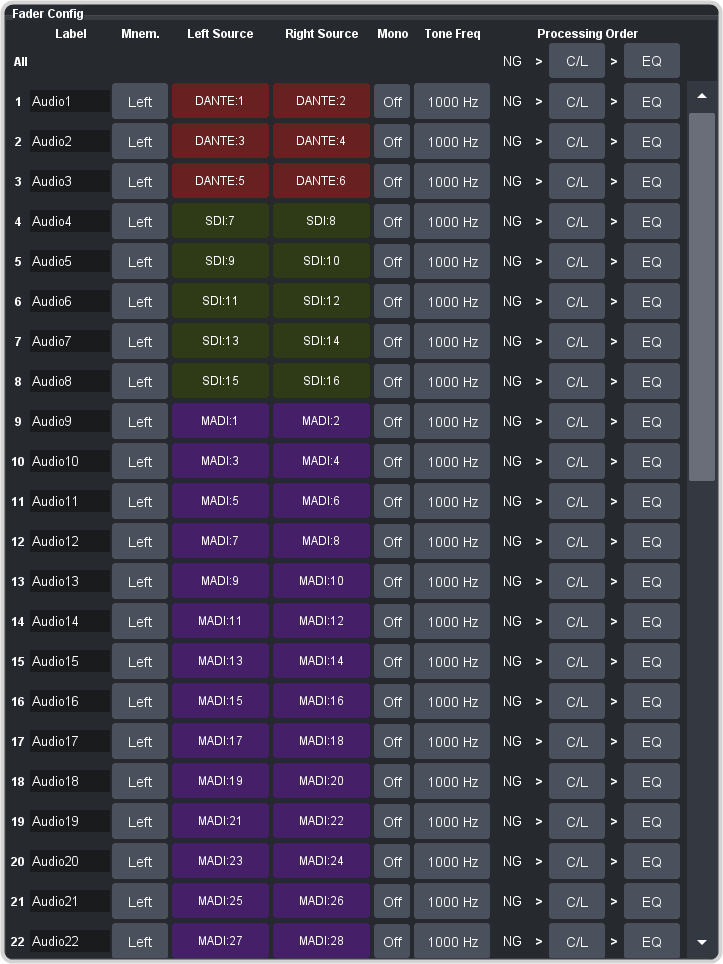

  2. In the Fader Config area, click the Left Source or Right Source button for the fader you want to assign an audio source to the left or right channel.
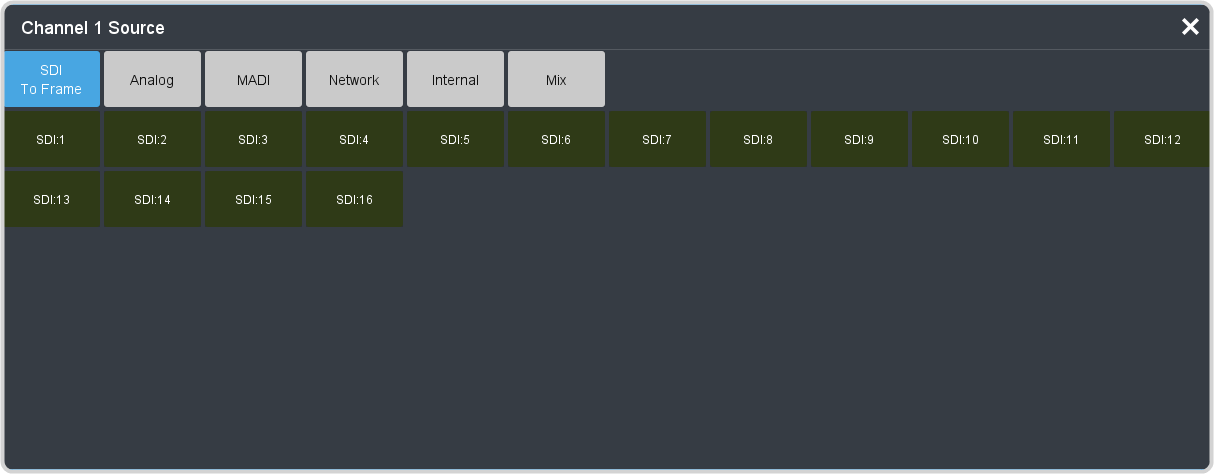

    • SDI To Frame — 16 channels of embedded audio from the To Frame HD BNC.
    • Analog (XLR-Analog-Input only) — 16 channels of analog audio from the XLRs on the front of the unit.
    • MADI — 64 channels of MADI/AES10 audio from the SFP port.
    • Network — 64 channels of Dante® audio from the AoIP ports.
    • Internal — internally generated silence.
    • Mix — route the main or one of the aux mix layers as a source.
    Note:
    The Dante® license must be active to use Dante® sources.
    Tip:
    Assign both left and right channels to the same source to make a mono source for the automixer.
  3. Assign a new name and icon to the fader.
    • Name — enter a new name in the Label field for the fader. This appears at the top of the strip on the mixer.
    • Icon — click the Mnem. button and select whether the use the icon assigned to the Left Source or Right Source selection from the Audio Inputs menu.
  4. Click the Mono button to select the stereo pair you want to have added together into a single mono summed output.
    Note:
    The Mono can only be applied to up to 4 faders at a time.
  5. Click the Tone Freq button and select the frequency you want to use for the test tone on this fader. The test tone can be turned on from the main audio mixer interface.
  6. Click a Processing Order button for an audio fader to select whether the equalizer (EQ) is applied first, or if the compressor/limiter (C/L) is applied first for that fader. The noise gate (NG) is always applied upstream.
    Tip:
    You can use the Processing Order buttons for All to change the processing order for all audio faders.