
To Install a Frame Board
Warning Hazardous Voltages: Hazardous voltages are present in this device as long as any of the power
supplies are connected to the AC power.
ESD Susceptibility: Static discharge can cause serious damage to sensitive semiconductor devices. Avoid handling
the circuit boards in high static environments such as carpeted areas and when synthetic fiber clothing is worn. Touch the metal frame to dissipate static charge before removing boards
and exercise proper grounding precautions when working on circuit boards.
- Refer to any instructions that came with your new board for special installation instructions.
- Refer to the Upgrade Notes for the version of software on your switcher to ensure that the board you are installing is supported.
-
Locate the slot in the front or rear of the frame where the new board is to be installed. Board location can be found on the label on the inside of the frame door and on the
quick-start poster that came with your frame.
Important: If you are installing an Evertz® IP Input or Evertz® IP Output board you must remove the existing input or output boards and install the new IP boards starting from the top position. Due to the size of the SFP cages and the EMI gasket it is not recommended to try to install a board into the slot above an IP board.Tip: If a board is already installed in that slot and needs to be removed, use the ejector tabs to unseat the board (front boards) or undo the retaining bolts (rear boards) and slide it out of the frame. Some ejector tabs have locks or screws that hold them closed.
-
Inspect the power connector blades on the edge of the board to ensure that they are not bent or damaged.
Figure 1. Power Connector Blades 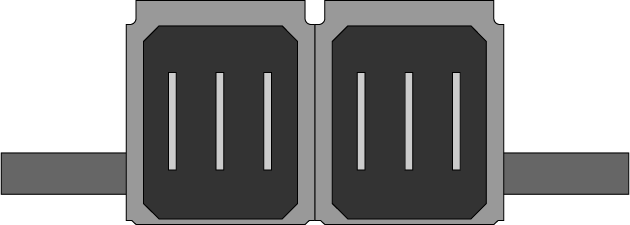
Important: If the blades in the power connectors are bent or damaged, contact Ross Video Technical Support. Do not attempt to install a damaged board. -
With the ejector tabs in the open position (front boards), align the edges of the board with the guide rails and slide the board into the slot. When the board stops sliding freely,
push firmly to seat the board and secure it with the ejector tabs (front boards) or retaining bolts (rear boards).
Important: If there is significant resistance when seating the board, remove the board from the frame and inspect the connectors for bent pins or other damage to the connectors.
Figure 2. Board Installation (front boards) -01.png)
When the board is installed the switcher checks the version of software on the board and upgrades/downgrades the board as required to match the version of software that is running on the switcher.