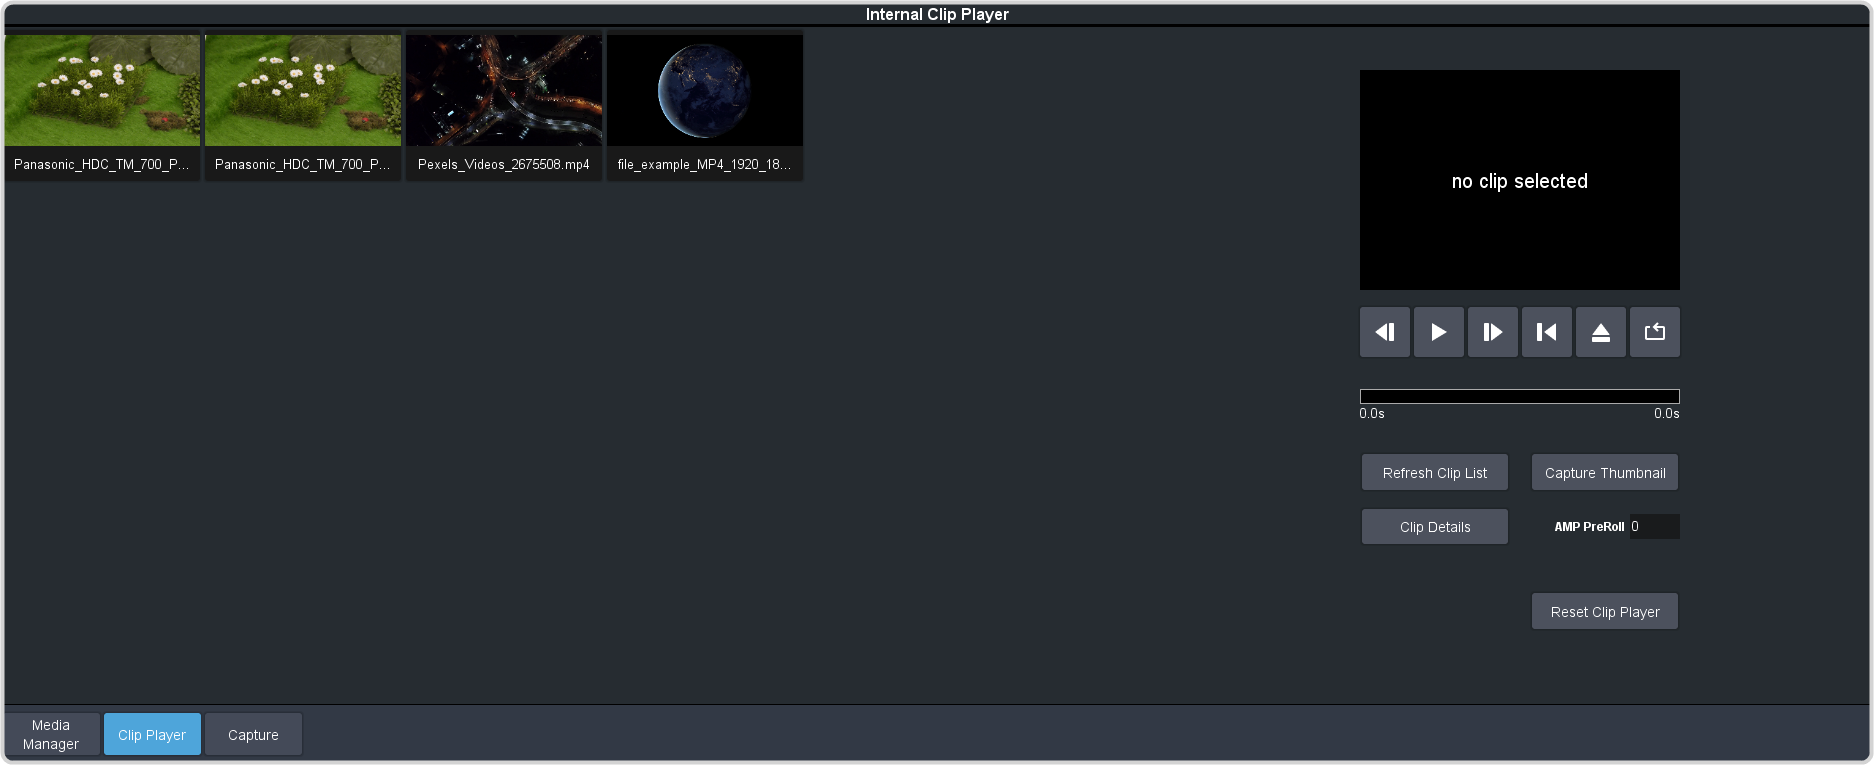
Clips must be located on the USB in the /clips/video folder. The switcher will create this folder if it does not already exist. Sub-folders are
not supported at this time.
Important: Do not copy a clip to the drive while a clip is playing. Copying a clip to the drive while the Clip Player
is playing a clip can cause the clip to stutter or stop.
Note: The clip player is only available in the HD switcher modes.
-
Click Navigation Menu > Live Assist > Media > Clip Player.
-
Click on the clip you want to load.
Note: The clips is loaded into the channel as soon as you click on it. If a clip is already playing it is ejected and the new clips is loaded.
Tip: If the clip you want to load does not appear in the list, click Refresh Clip List. The switcher re-scans the folder and updates the clip
list.
Tip: You can use FTP to copy a clip to the switcher. Refer to
To Create an FTP Connection for information on creating an FTP
connection.
The clip is loaded and queued into the clip player.
-
Click Clip Details to view general, video, and audio information on the currently loaded clip.

