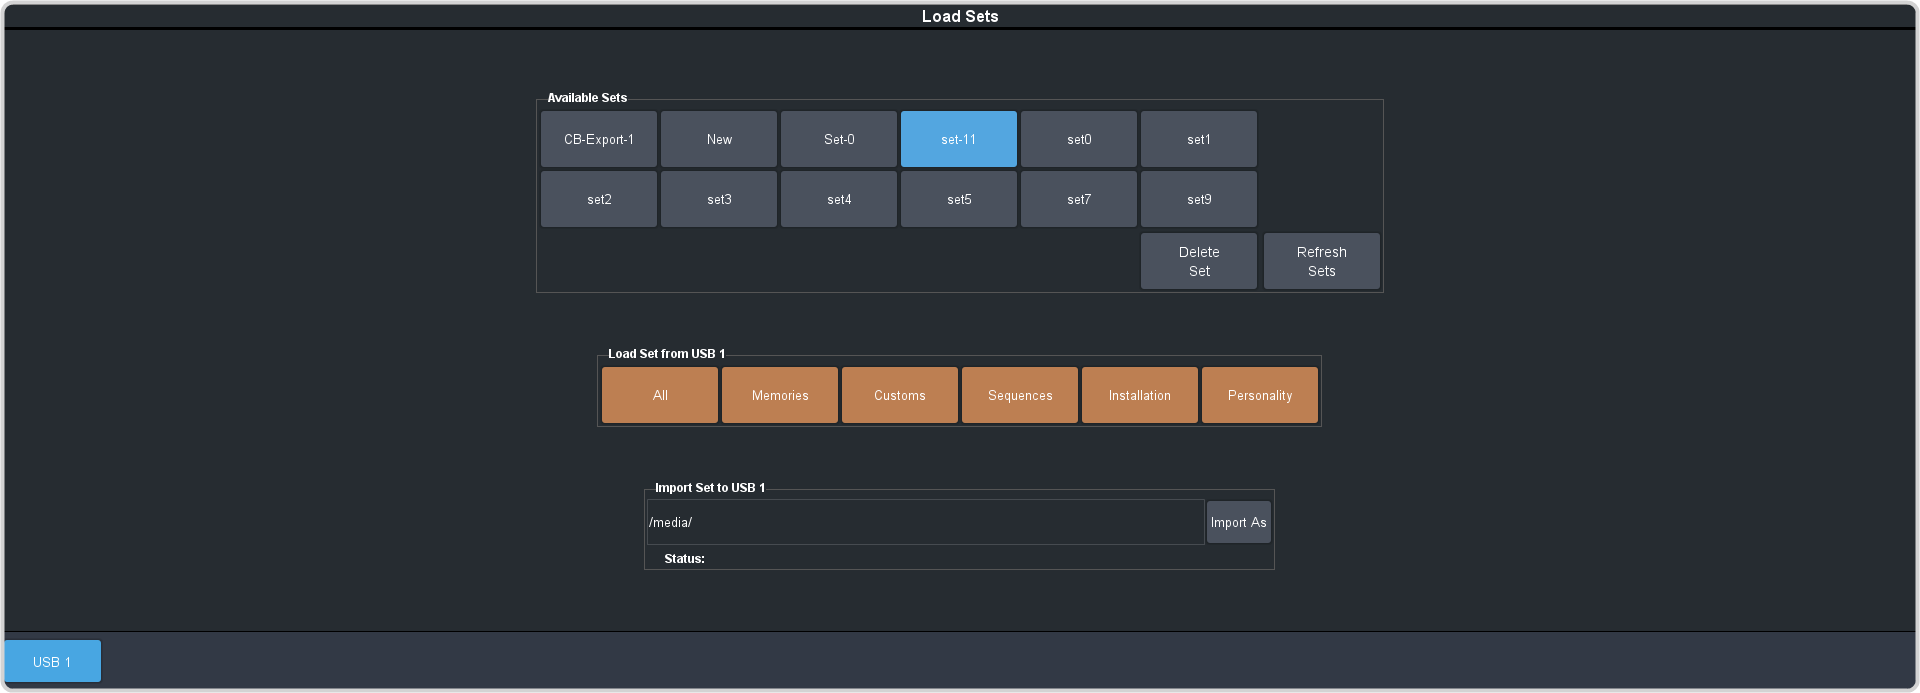
To Load a Set
Load the switcher set to restore a copy of the previous configuration of the switcher.
Note: If you are updating an older setup file, you must perform a Recall All followed by a Store All. This updates the setup files the latest format. You can then
make changes and store to individual registers if needed.
-
Insert a USB drive into the USB Port on the frame. You must wait 5 seconds for the switcher to recognise the USB drive.
Tip: If you do not have a USB drive, you can recall the set from temporary storage. This set will be lost when the switcher restarts. Importing a set from an external computer will be stored in the temporary storage.
-
Click Navigation Menu > Configuration > System > Load Sets.
Tip: Click Refresh Sets to update the list of available sets on the USB.

Note: Only the registers that are supported by your current configuration are shown. For example, if you do not have an SDPE blade assigned as a MaxScene, the MaxScenes register is not shown. The MaxScene register will not be shown even if it is present in the set.Tip: You can import a switcher set from your local computer in the Import Set to Available Sets area. Click Import As and navigate to the folder where the set is stored and click Open. It may take several minutes for the set to upload to the switcher.Tip: You can delete a set you no longer want by selecting the set and clicking Delete Set. - Click an Available Sets button to select the set you want to load the switcher register from.
-
Click a Load Set from USB button to load that register. Only those registers that are present in the set are shown.
- All — recall all registers from the set. RPM Licensing is not included.
- Memories — recall only the memory registers from the set.
- Customs — recall only the custom control registers from the set.
- Sequences — recall only the Sequencer registers from the set.
- Installation — recall only the installation registers from the set.
- Personality — recall only the personality registers from the set.
- Click Yes.
