To Select an Export Destination
You can set up to nine export destinations, each with a different export format. Destination folders should only be located on network drives or high-speed USB drives (USB 2.0/3.0/3.1) mounted on the server.
Important: Do not select an export destination on the system (C:) or media drive (H:) of the server. These drives are reserved for the
operating system and media playout and recording. Exporting to either of these drives could cause video errors and system instability.
-
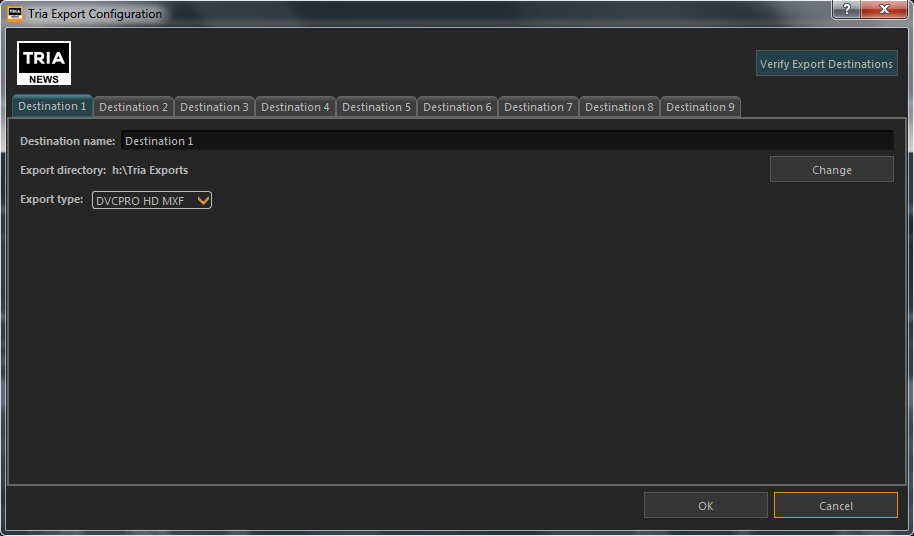
Click Configure > Export Configuration.

- Click the Destination X tab for the destination you want to set up or edit.
-
Select Enable this destination to make this destination available for export.
Destination 1 is always available for export.
- In the Destination Name field, enter a new name for the destination tab.
-
Click Export Type and select the codec you want to use for the export.
Note: Only Abekas native .clip and AVC-Intra .mxf are available when operating in a 1080p video format.
- Click Change and select the network drive or USB folder that you want to export to.
-
Click Select Folder.
The selected folder is shown in the Export directory field.
- Select additional export destination as required.
-
Click Verify Export Destinations to verify that all destination can be found.
A message is shown next to the button stating that all destination are valid, or that destinations are missing. The destinations that are missing are highlighted in yellow.
- Click OK.
