
To Upgrade the System Software
Use DashBoard to upload the upgrade file to the system.
Note:
Save your system setup information to a set on a separate USB drive before upgrading. This system set can be used as a backup in case there is a critical error
during the upgrade.
Tip:
System sets are not always backwards compatible. Keep an archive copy of your sets in case you want to downgrade to the previous software version.
Important:
Do NOT turn the system power off during the upgrade. Doing so may corrupt the system software or damage the system components.
-
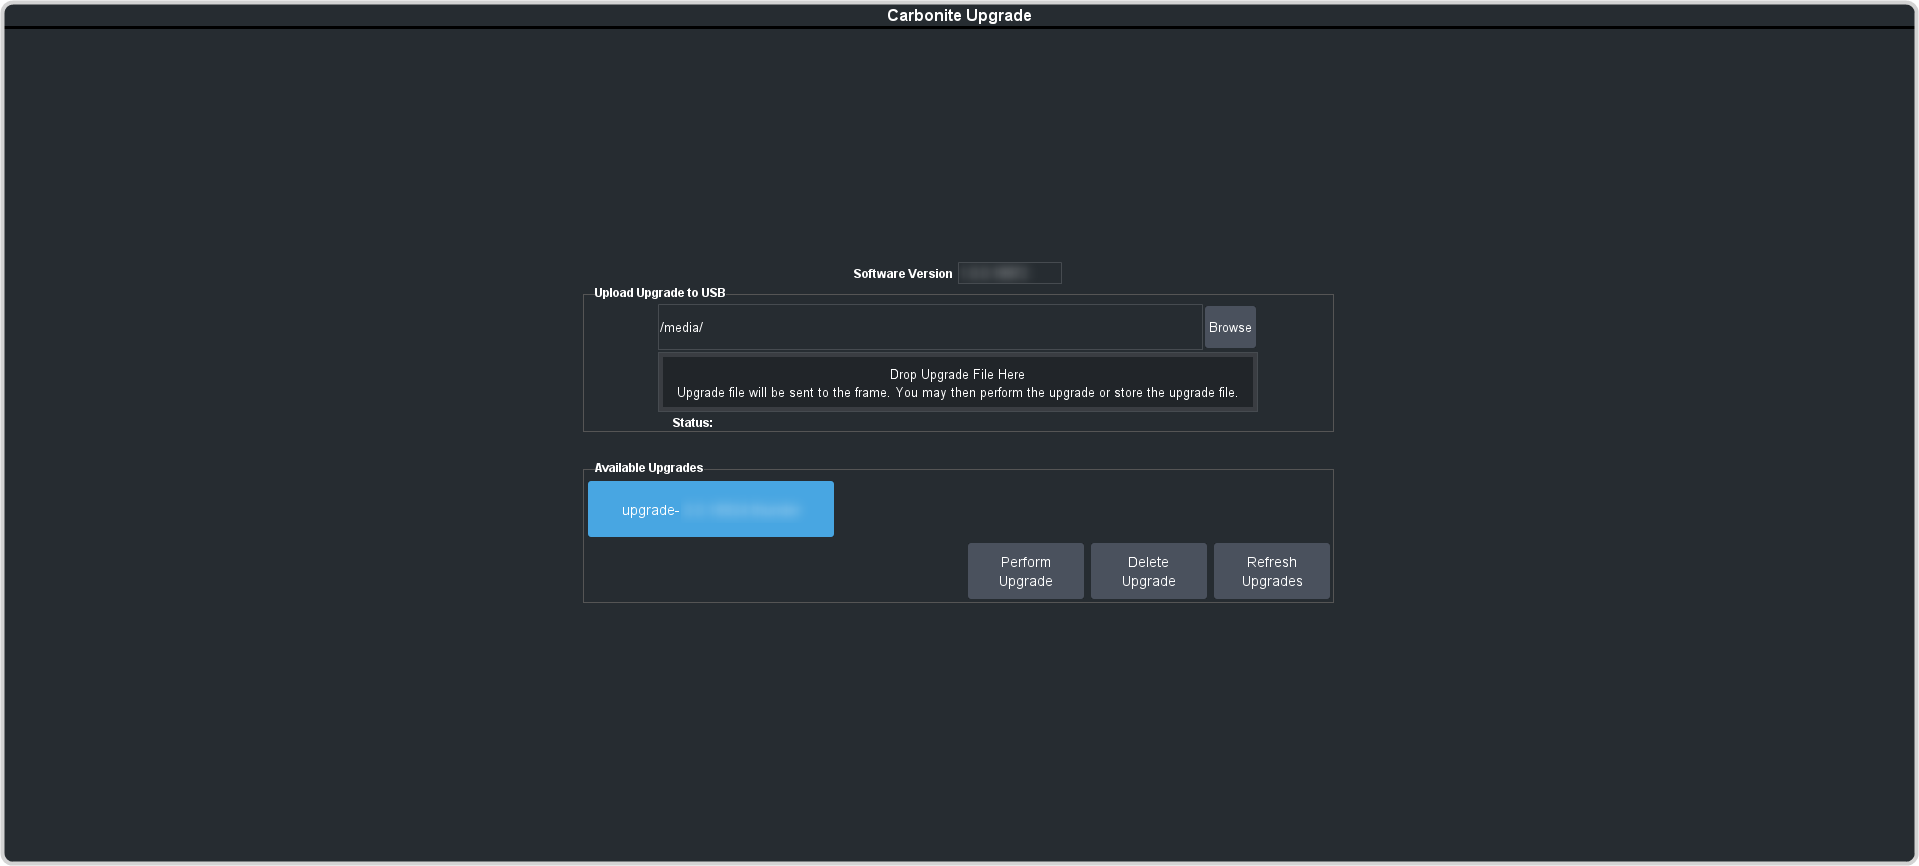
Click Navigation Menu > Configuration > System > Upgrade.
-
Drag and drop the upgrade file into the Drag and Drop Upgrade area on DashBoard. The file is uploaded and you are asked what you would
like to do with the file.
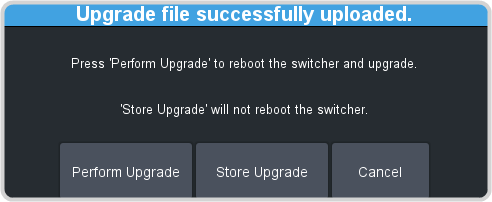
- Perform Upgrade — perform the upgrade with the file that was just uploaded.
- Store Upgrade — store the file locally in the upgrade folder.
- Cancel — cancel the process and delete the upgrade file from the system.
Tip:You can also upgrade from the USB. All upgrade files located on the USB are shown listed. Click the file you want to use and click Perform Upgrade.Tip:You can also upgrade by clicking Browse, locating the upgrade file, and then clicking Upload File.Tip:You can delete an upgrade file by selecting the file and clicking Delete Upgrade.