
To Set Up a Key on TouchDrive
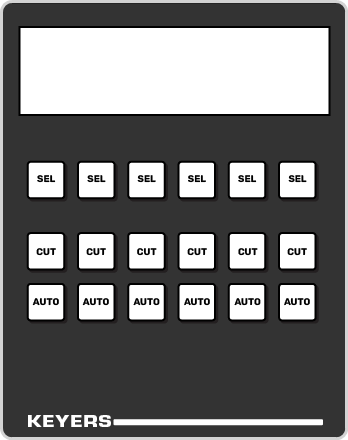
The TouchDrive control panel has a dedicated Keyers area that allows you to quickly assign the key bus to a keyer, transition the key on or off-air, and see the status and configuration of each key on the ME.
Note: Carbonite button configuration and menus shown.
-
In the Keyers area, press the SEL button for the key you want to assign the key bus to.
Tip: You can also tap the Key button on the row control menu and select the keyer you want to assign the row to.
Tip: For Carbonite switchers, DashBoard Live Assist follows the keyer selection and shows the setup page for the key. If you source selected on the keyer has a custom page assigned to it, pressing SEL toggles between the key setup page and the custom page.Tip: For Acuity® switchers, the main menu follows the keyer selection and shows the setup page for the key. -
Select the key type you want to assign to the keyer.
- Self/Luma — press the SELF/LUMA user button.
- Auto Select/Linear — press the AUTO/LINEAR user button.
- Chroma Key — select the chroma key as a source (CKX) on the key bus. The key bus is then assigned to that chroma keyer and you can select the source for the chroma key. The keyer switches to an auto select key when a chroma key is selected.
- DVE — press the DVE user button.
-
The display in the Keyer area shows how each keyer is currently configured.

-
Tap the keyer button on the display to show more information about that keyer.
Note: The information will change depending on the type of key selected.

Tip: Tap each of the settings buttons to have the 3-knob menu follow to those settings. Tap ˄ in the top left corner to return to the previous menu. - Use DashBoard to set up the key.