
To Install a Button Insert
-
Remove the Cap Assembly from the Switch Assembly by grasping it firmly and pulling away from the control panel
surface.
Figure 1. Removing Cap Assembly 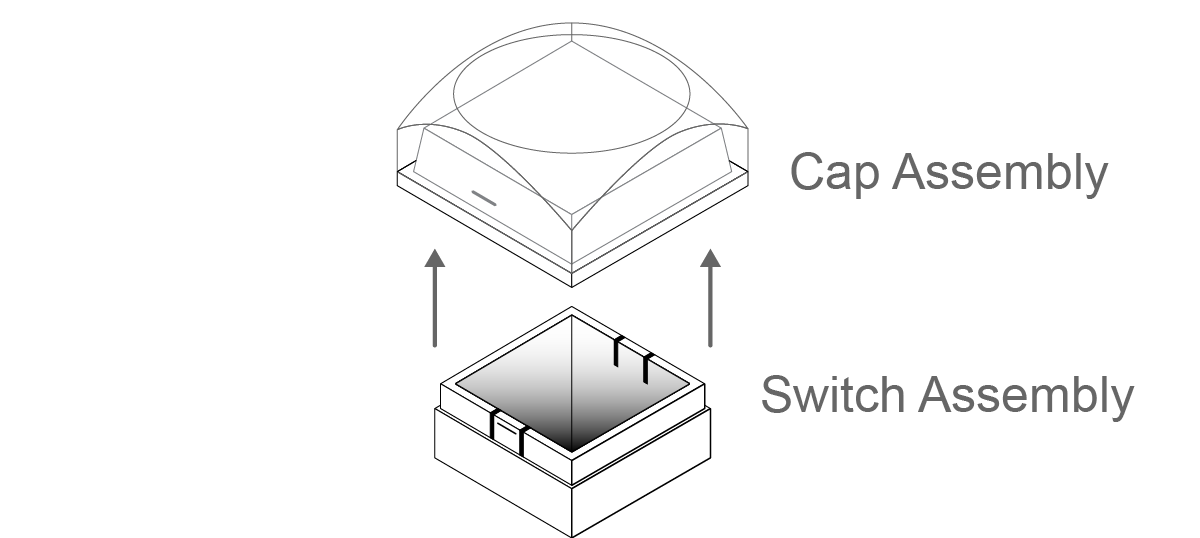
-
Remove the Lens from the Diffuser using a common end micro screwdriver.
Figure 2. Removing Lens from Diffuser 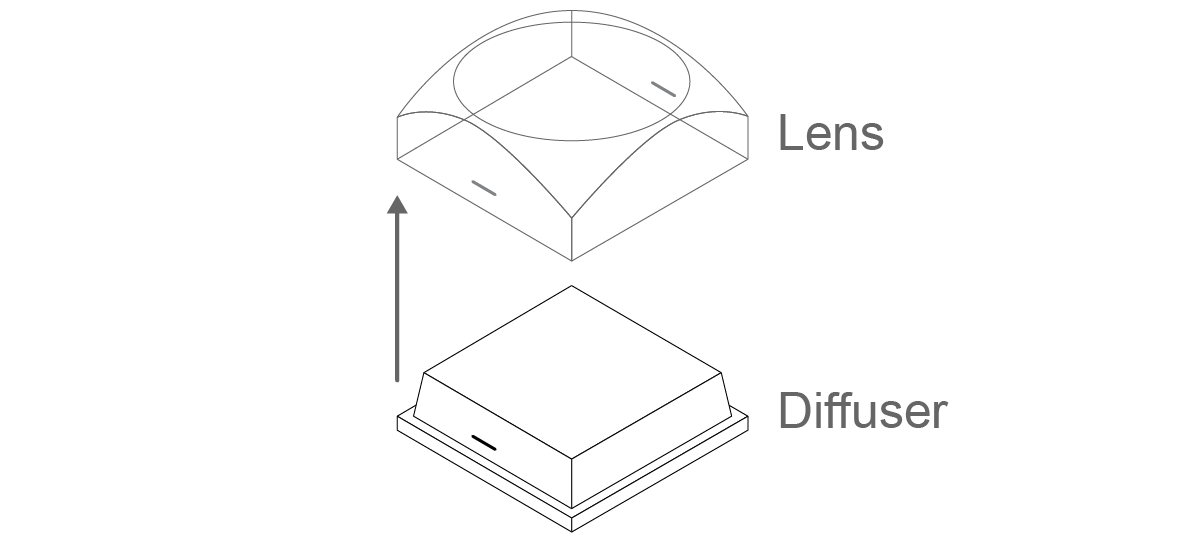
-
Place the Insert Film into the Lens so the readable side is facing up. The notches on the sides of the Lens must be at the
sides of the text on the Insert Film.
Figure 3. Inserting Film 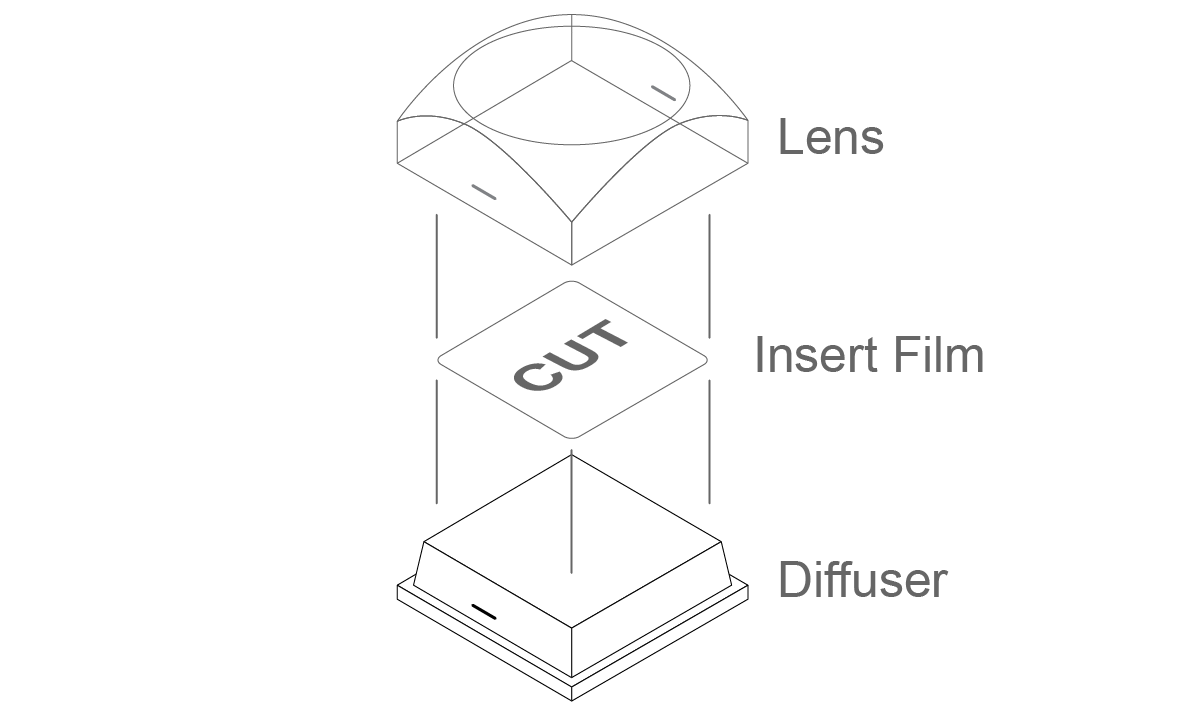
- Aligning the notches on the sides of the Lens and Diffuser, press the Lens and Diffuser together until they click.
-
Aligning the notches on the sides of the Cap Assembly to the tabs on the side of the Switch Assembly, press Cap Assembly
down onto the Switch Assembly with a rolling motion until they click together.
Figure 4. Removing Lens from Diffuser 