
To Export Media Files
Export media files from the server to another format that can be used by another device.
Note: Some export functions require a channel to export video. Ensure that the channel you want to use for exporting is not being used before you start the export.
- Launch the Mira Explorer application.
- Click Clip Library.
-
Select the clip(s) that you want to export in the Clip Library.
Tip: To export/melt the clips from the Play Lists in a replay event, right-click on the replay event you want to export the Play List from and click Melt Replay Event. Select the Play List(s) you want to export and click Finish. The Export Editor opens with the clips from the selected Play List(s).
-
Click Clip Library > Export.
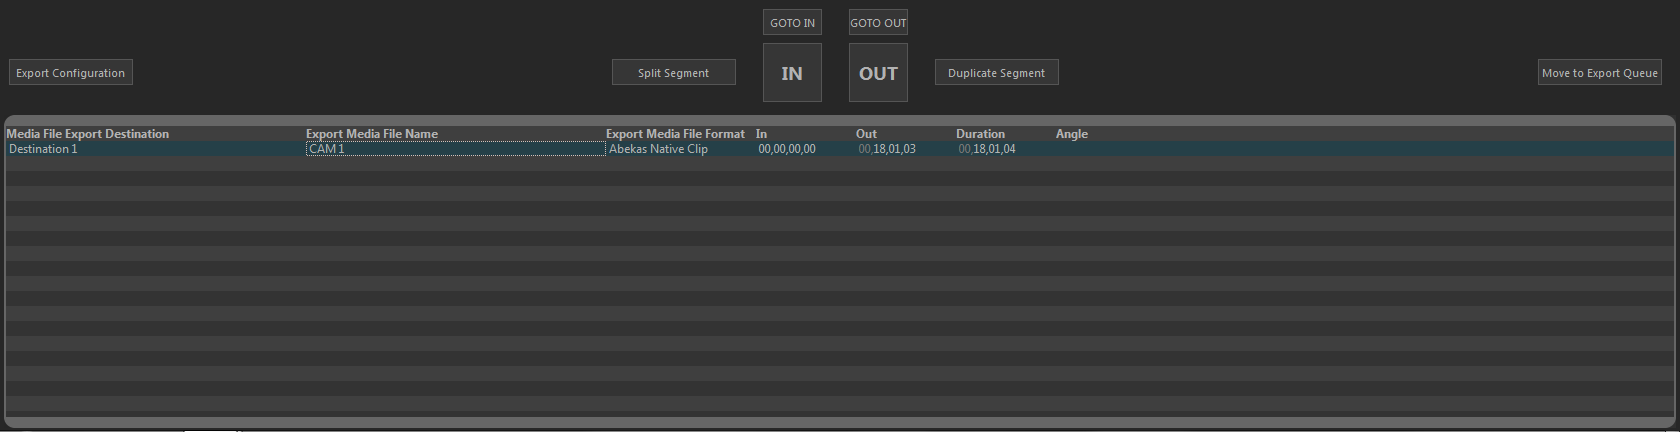
The Export Editor opens with the selected clips listed.
- To select a different destination for a clip, right-click on the clip and click Set Destination... and select the new destination.
- To export a different camera angle from a replay event clip, right-click on the clip and click Set angle... and select which camera you want to export, or select All Cams.
-
To set a custom in-point and out-point, load the clip into the selected channel transport and use the transport controls to locate the new in-point or out-point and click
IN or OUT to set that point. The timecode for the new in-point and out-point is shown in the table.
Tip: To split the clip into segments, set the in-point to where you want the segment to end and click Split Segment. A new clip of the same name and export destination is created.Tip: To duplicate the segment, set the in-point and end-point to where you want to new clip to start and end and click Duplicate Segments. A new clip of the same name and export destination is created.
-
Select all the clips you want to export and click Move to Export Queue.
The Export Queue opens with the selected clips listed.
- Click Start Export.
-
If your export requires transcoding, in the Channel to take offline list, select the channel that you want to use for the export and click
OK.
The server starts exporting the clips to the destination folders.
Tip: Click Abort Export to stop the export. The current clip is put back into the Export Queue with the remaining clips.