SideStick Module
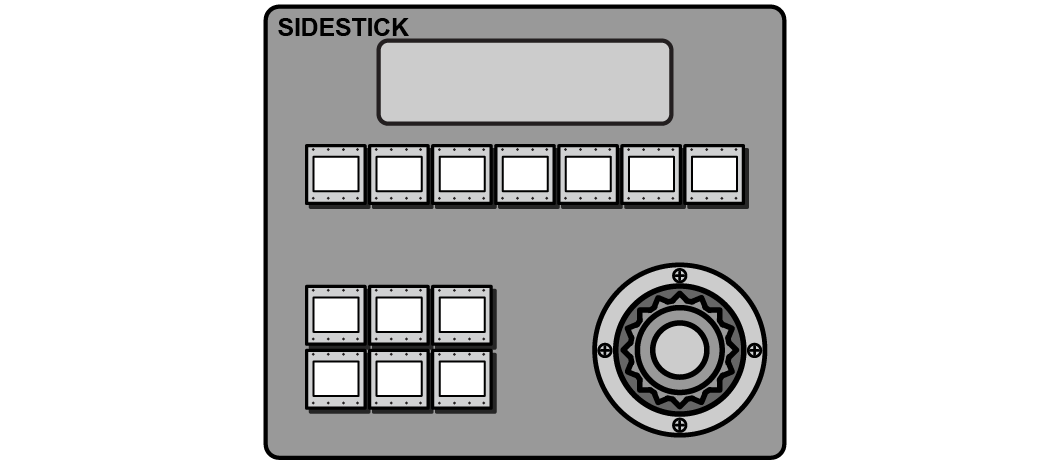
The SideStick module allows you to have a dedicated module for camera control that is separate from the control panel.

Tip: When you connect your SideStick module to the switcher, you may have to calibrate the positioner. Refer to
To Calibrate the Fader and Positioner for information on calibration.
Keep the following in mind:
Keep the following in mind when using the SideStick:
- Navigating between cameras requires that the SideStick module be assigned to a camera first.
- Press the hold the Page SEL button and use the other buttons to select a specific page or camera.
- The NEXT and Prev buttons cycle through the cameras assignable to the SideStick module. If you have locked the module to on-air or preview cameras only, the buttons cycle through only those cameras.
- The On Air button selects the first camera that is tallied as on-air. A C: appears before the camera name on the display.
- The Preset button selects the first camera that is tallied on preview. A C: appears before the camera name on the display.
- Double-press the On Air or Preset button to have the SideStick module follow whichever camera is on-air or preview. As you perform transitions and select sources the SideStick module jumps to controlling whichever camera is on-air or preview. A F: appears before the camera name on the display.
