 MOS Plugins icon, then click the MOS device that contains the MOS objects to add to your Broadcast story.
Web Plugin
For some MOS devices you use a Web plugin to access the MOS objects on the device. You also use the MOS device Web plugin to configure MOS object settings and to add MOS objects to a Broadcast story. You do not need to install a plugin on your computer when working with a MOS device that uses Web plugin for MOS object access.
Refer the MOS device user documentation of information on how to use the device Web plugin.
To use a Web plugin to add MOS objects to a Broadcast story
1.In the Story Editor, open the Broadcast story that contains the MOS object placeholder to which to add MOS objects.
The selected story opens in the Story Editor.
2.In the main toolbar, point to the MOS Plugins icon, then click the MOS device that contains the MOS objects to add to your Broadcast story.

The Web plugin used by the selected MOS device opens in a new panel.
3.In the MOS device Web plugin, select and configure the MOS Object to add to your Broadcast story.
Refer the MOS device user documentation of information on how to use the Web plugin to configure a MOS object.
4.To add the selected MOS object to the active Broadcast story, do one of the following:
•Drag the selected MOS object from the Web plugin to the MOS Objects area of the active Broadcast story, then release the MOS object.
For stories that contain more than one MOS object, a blue line previews the position for the new MOS object. When the blue line highlights the position to add the new MOS object, release the MOS object.
•In the Web plugin, click Add to Story. Some Web plugins may not have an Add to Story button.
The Story Editor displays the added MOS object in the MOS Objects area. Inception displays a black background with a warning icon for MOS objects with mismatched MOS IDs.
For More Information on...
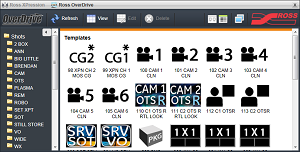
•using the Ross OverDrive plugin to add templates and shots to a story for playout through OverDrive, refer to the OverDrive User Guide.