
To Set Up a MediaWipe
A MediaWipe requires that you select the animation you want to use and then set up how you want to transition performed under the animation. This information is stored with the media item when you press save.
- Click Navigation Menu > Live Assist > MEs and select the ME that you want to perform the transition on.
-
Click Trans > Media, or press MEDIA in the Transition area on
the control panel.
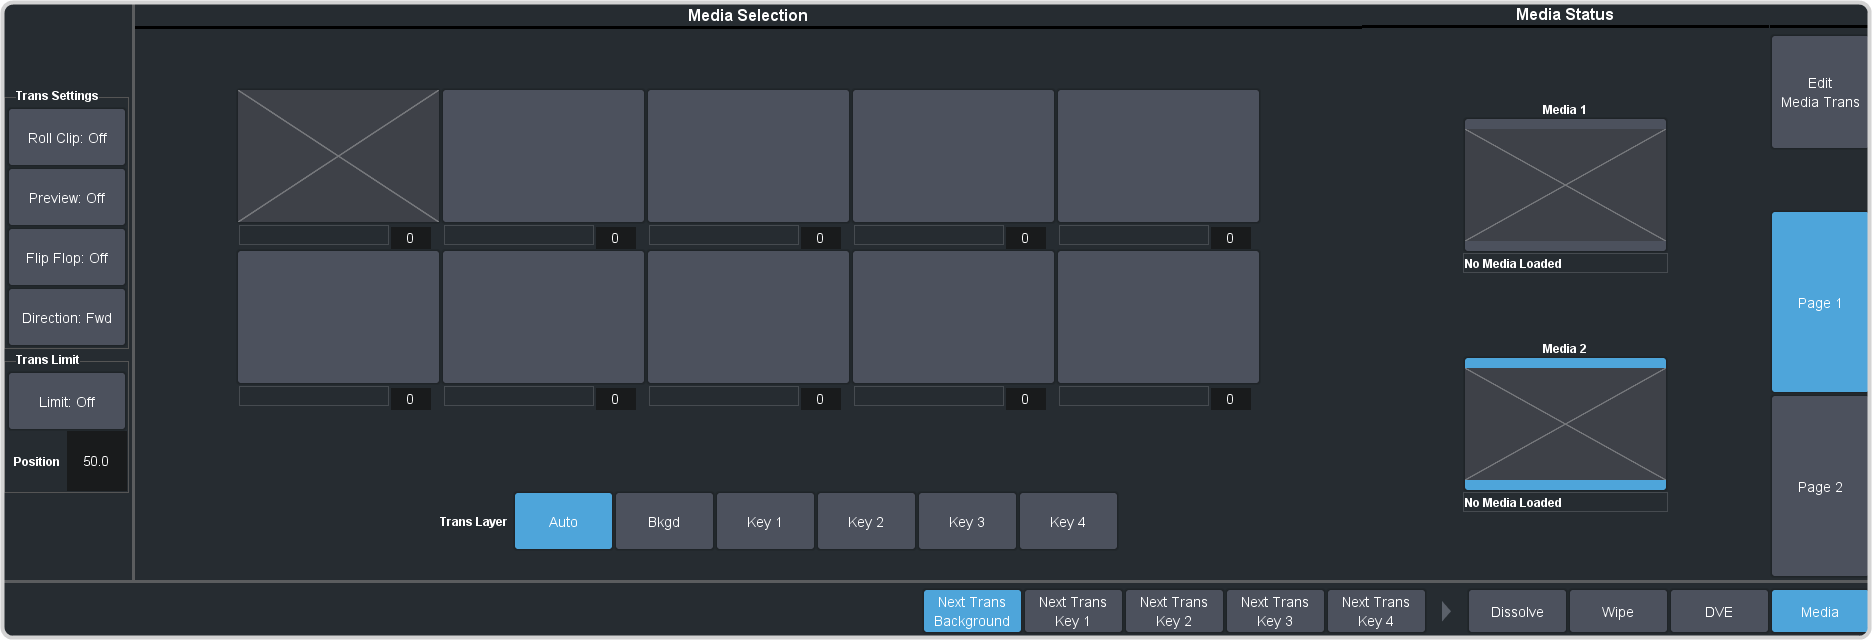
- In the Media Status area, click a Media X button to select the channel you want to assign an animation to.
-
In the Media Selection area, click the thumbnail box for the animation you want to assign to the Media-Store channel.
Tip: Enter the media item number for a media item in the field below the thumbnail button assign that button to the media item.Tip: Click Page 1 or Page 2 to move between the pages of MediaWipe animations.
-
In the Trans Layer area, select where the MediaWipe will occur.
- Auto — MediaWipe occurs over highest number key in the transition.
- Bkgd — MediaWipe occurs over the background, but under all keys.
- Key1 — MediaWipe occurs over the background and key 1, but under remaining keys.
- Key2 — MediaWipe occurs over the background and key 1 and 2, but under remaining keys.
- Key3 — MediaWipe occurs over the background and key 1, 2, and 3, but under key 4.
- Key4 — MediaWipe occurs over the background and all keys.
Important: If a key is above the MediaWipe layer and included in the MediaWipe transition, it will cut off-air with the transition. This is normally covered by the animation when the layer is above the key. -
Click Edit Media Trans.
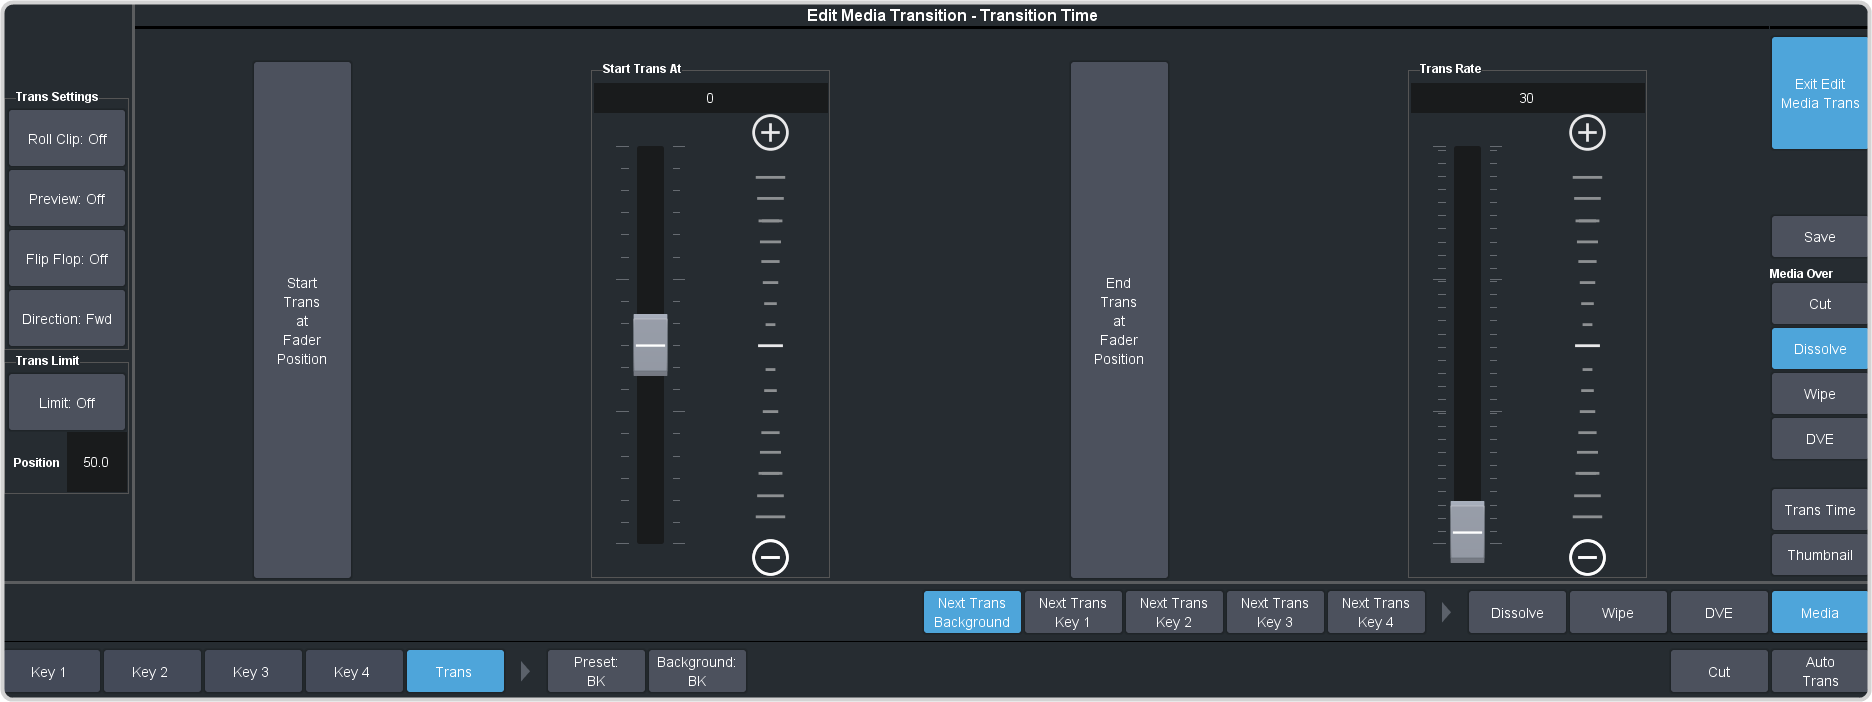
- In the Media Over area, select the type of transition you want to use under the MediaWipe. This also allows you to set up the transition parameters for wipes and DVE transitions.
-
Click Trans Time and use the slider or fader in the Transition area on the control panel to set the start and end of the transition under
the MediaWipe.
- (Cut only) Use the Cut Frame slider to select the point for the cut, or move the fader to the point in the animation where you want the cut to happen and click Cut at Fader Position.
- Use the Start Trans At slider to select the point where the transition starts, or move the fader to the point in the animation where you want the transition to start and click Start Trans at Fader Position.
- Use the Trans Rate slider to select the duration of the dissolve, or move the fader to the point where you want the transition to end and click End Trans at Fader Position.
Tip: If you select a negative start point for the transition, the transition will start first and then the animation will play after the start point duration has passed. - Click Thumbnail and use the Thumbnail slider to select a point in the animation that you want to use as a thumbnail for the MediaWipe. You can also use the fader to select the position and click Generate Thumbnail at Fader Position.
- Click Save to save the new setting to the selected media item.
- Click Exit Edit Media Trans.